Showing posts with label Windows. Show all posts

Thursday, 20 April 2023

SNMP

What is SNMP?

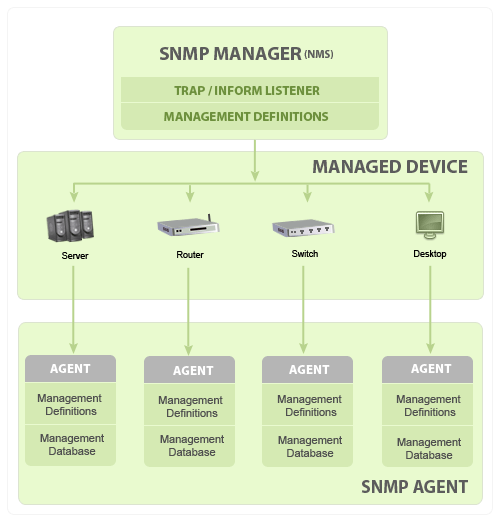
SNMP stands for Simple Network Management Protocol. It is a widely used protocol for monitoring and managing devices on a network. SNMP uses a client-server architecture, with a central management station (NMS) that polls devices for information and receives notifications from them when events occur.

SNMP Features

SNMP offers a number of features that make it a valuable tool for network management, including:

  • Scalability: SNMP is designed to be scalable to large networks. It can be used to monitor thousands of devices simultaneously.
  • Ease of use: SNMP is relatively easy to use and configure. It does not require any special knowledge of networking to get started.
  • Security: SNMP can be configured to use a variety of security mechanisms, including authentication, authorization, and encryption.

SNMP Applications

SNMP is used for a variety of network management tasks, including:

  • Device discovery: SNMP can be used to discover devices on a network. This information can be used to build a network inventory.
  • Health monitoring: SNMP can be used to monitor the health of devices on a network. This information can be used to identify potential problems before they cause outages.
  • Performance monitoring: SNMP can be used to monitor the performance of devices on a network. This information can be used to identify bottlenecks and optimize network performance.
  • Event notification: SNMP can be used to receive notifications when events occur on devices on a network. This information can be used to quickly identify and respond to problems.

SNMP Security

SNMP is a relatively secure protocol, but it is important to take steps to protect your network from attack. Some of the things you can do to improve the security of your SNMP implementation include:

  • Use strong passwords: SNMP uses community strings to authenticate devices. Make sure to use strong passwords that are difficult to guess.
  • Restrict access: You can restrict access to SNMP on a per-device basis. This will help to prevent unauthorized users from accessing your network devices.
  • Use encryption: You can encrypt SNMP traffic to protect it from eavesdropping.


Monday, 13 March 2023

Hyper - V - Virtualisation

What is Hyper - V?

Hyper - V is a virtualization technology. This allows you to run multiple operating system instances at any one time. You can run Linux, Microsoft, Server and desktop operating systems all together. This is a great solution for testing software on multiple platforms or just playing around with a different OS. 
Hyper V is specifically a hardware virtualisation technology. This means whatever you assign to your VMs you take that hardware away from your host. For example if your laptop or PC has 500GB of storage and 8GB Ram, you may want to tactically decide how you allocate the hardware to the VM. If you give the VM too much RAM for example it will severely impact the performance of the host. And the same with storage, VMs are usually assigned low storage, just enough for the Operating system and a few software installs (dependent on your requirements). If you have have spec tech, you can run many VMs much like a datacentre.

Enabling Hyper V in Windows 11

To enable hyper v;
1. Type Windows features into the start bar
2. Check both, Hyper V management tools and Hyper V platform
3. Restart your PC, it will install Hyper V much like a Windows update


Begin your lab journey....

Once you have Hyper V installed, embark on your lab journey. Below is a playlist for  creating a replica of a domain management structure, I will keep adding to it over time...

Playlist


Thursday, 16 February 2023

Using Group Policy to deploy wallpaper to domain machines

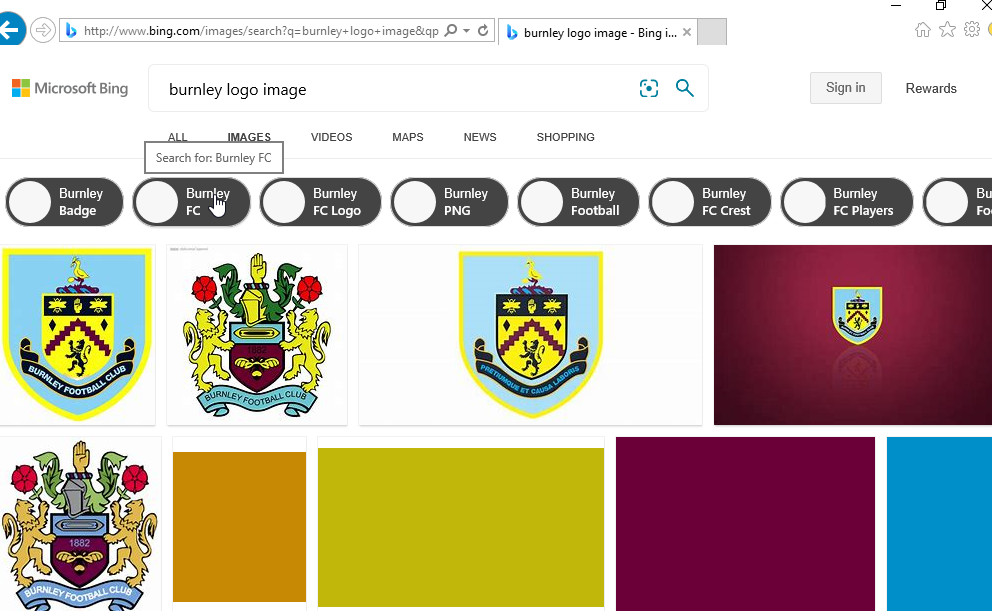
On the server open up internet explorer, go to the website bing.com ( google may run slow ) . Search for an image of your choice


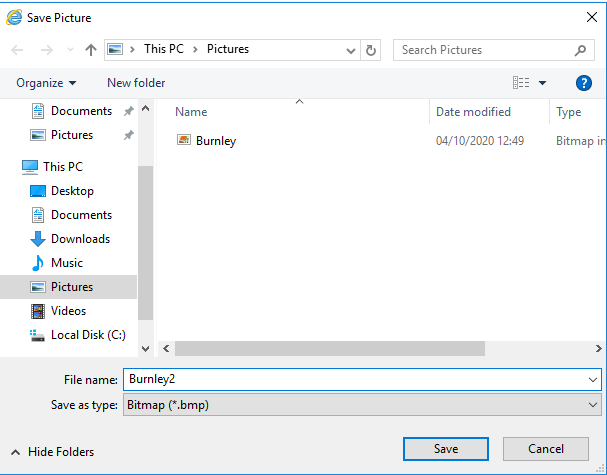
Right click on the image - and save it to the Pictures folder on the server as a bmp file 


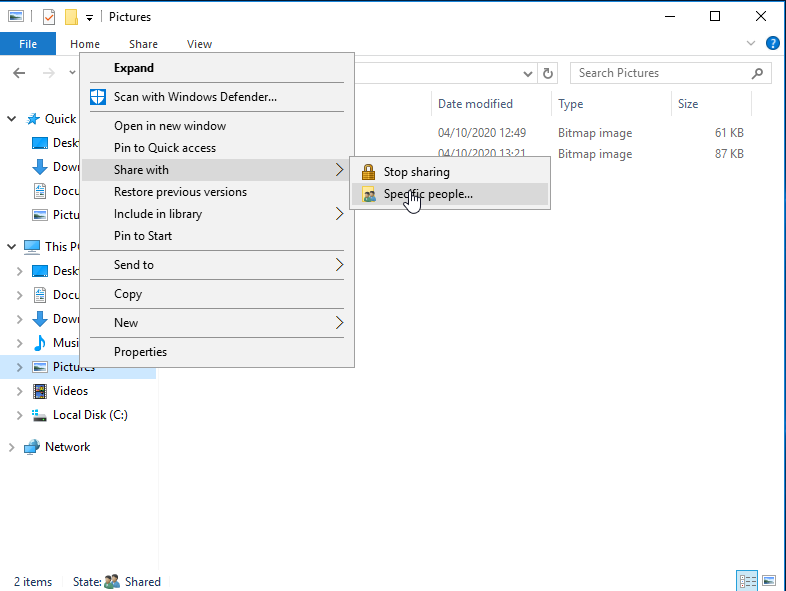
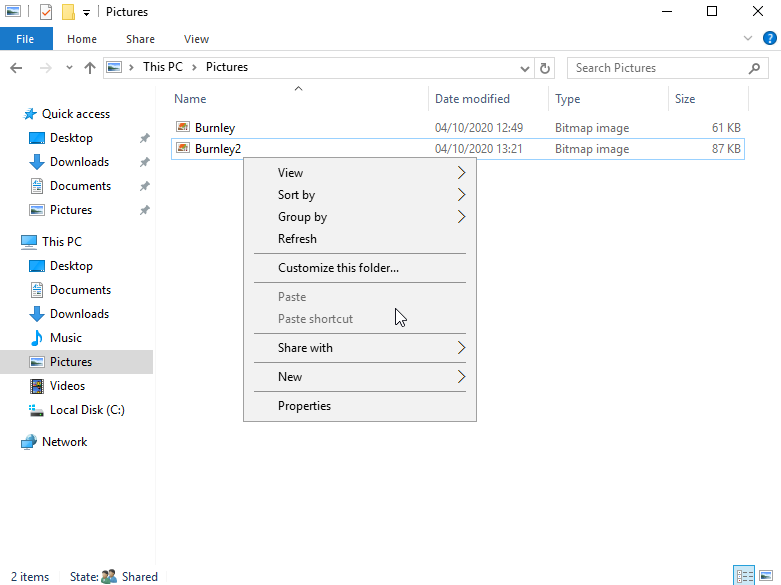
Right click on the pictures folder and click share with specific people


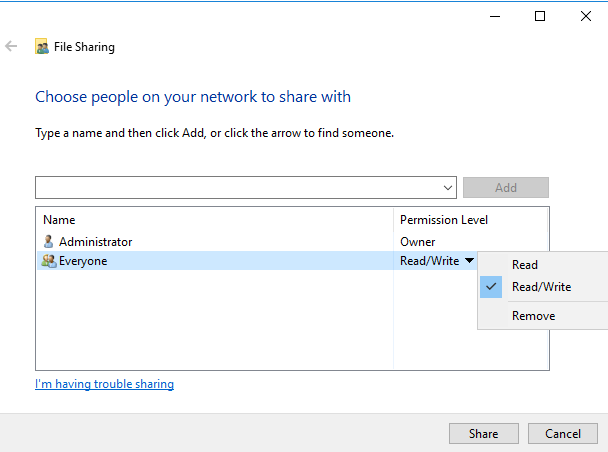
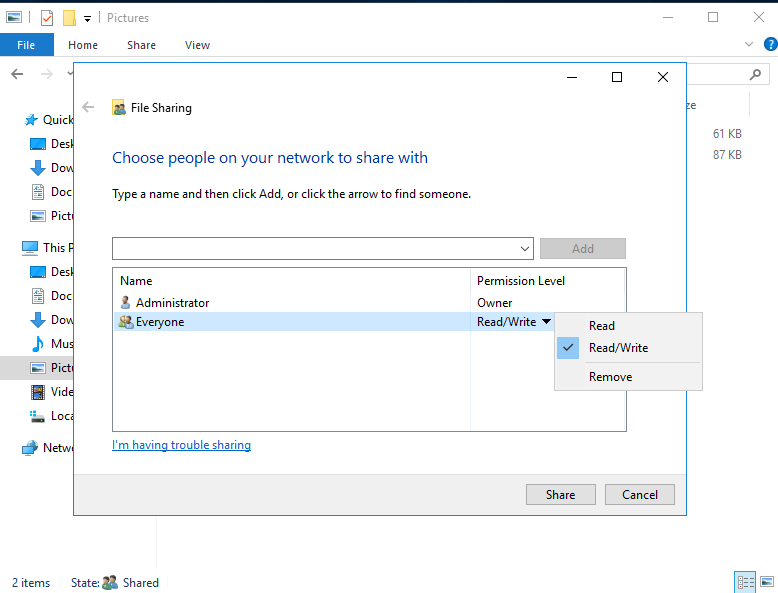
Ensure everyone is added if not click the drop down box and add tick read/write and click share


Do the same for the file you want to use for example here I have right clicked on burnley2 and clicked share with specific people


Ensure Everyone + Read/write is selected and click share


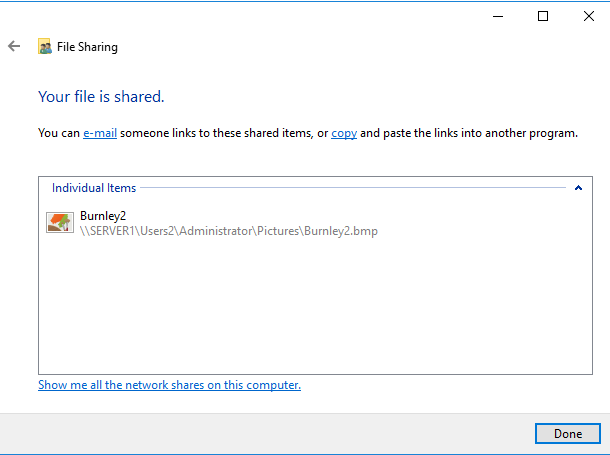
You should see the below screen with the file name location listed. Mine is 


\\SERVER1\Users2\Administrator\Pictures\Burnley2.bmp


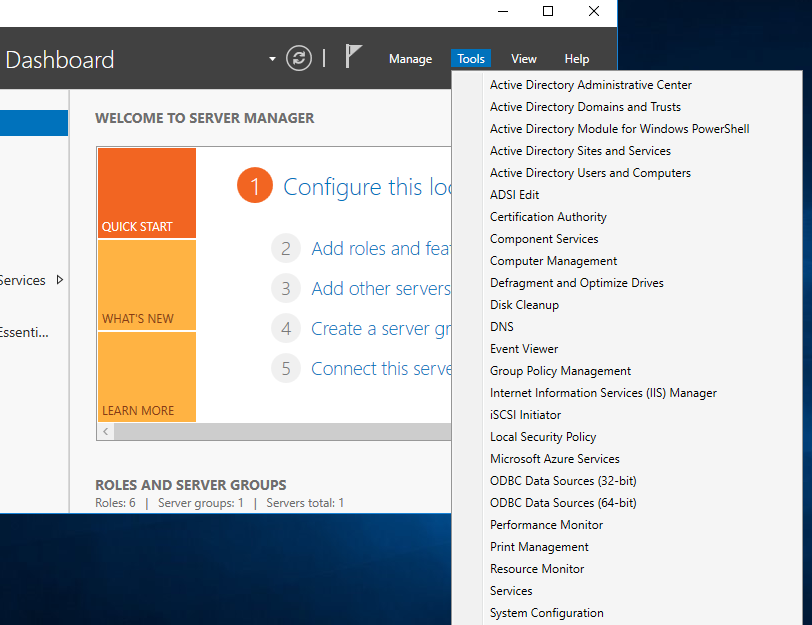
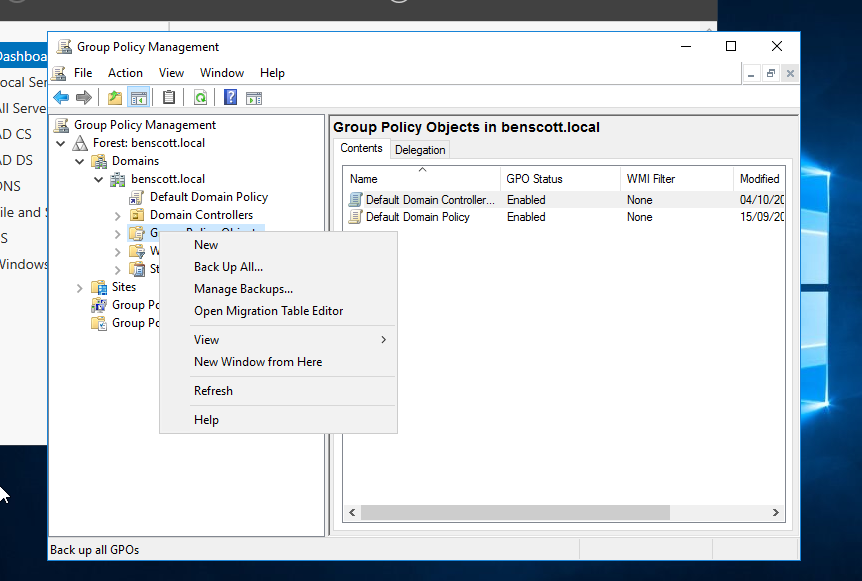
On server manager, click tools then Group policy management 


Right click Group Policy Objects - Click New 


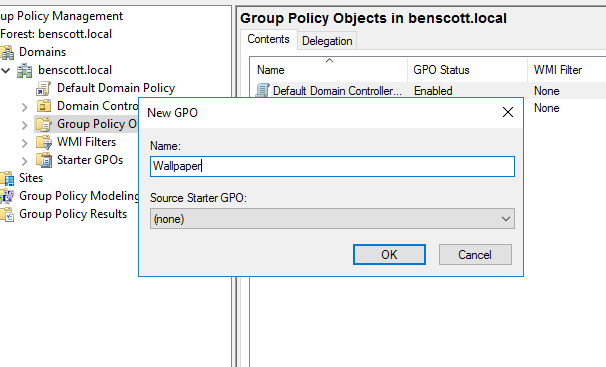
Type Wallpaper then click ok


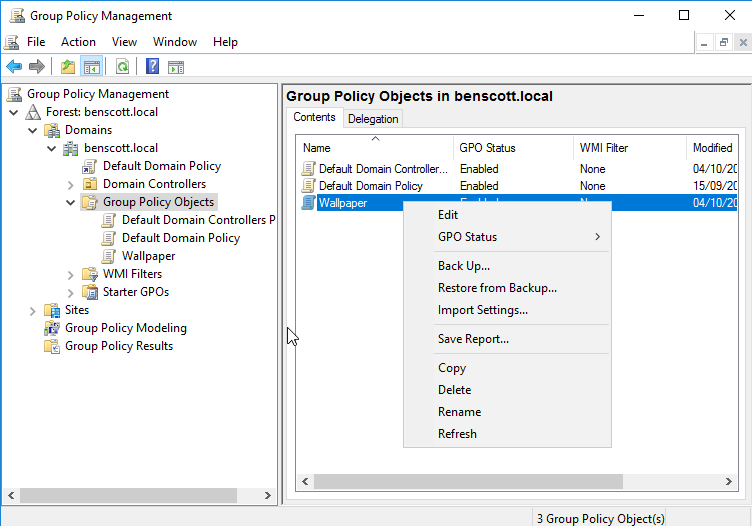
Now right click Wallpaper in the Group Policy Objects folder and click edit


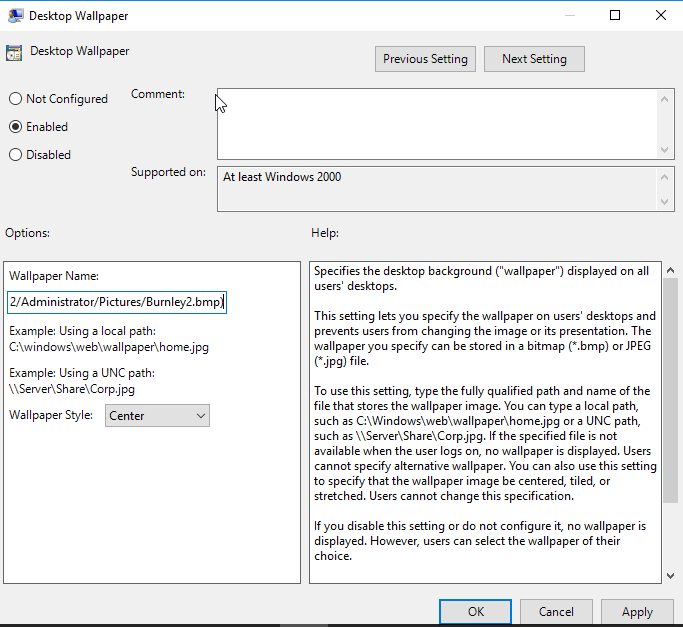
Expand user configuration -> policies -> administrative templates then click desktop and on the right hand side click desktop wallpaper


Click enabled - type the full file path into the Wallpaper name , and select style as center or fill ( however you want the logo to appear. Click apply 


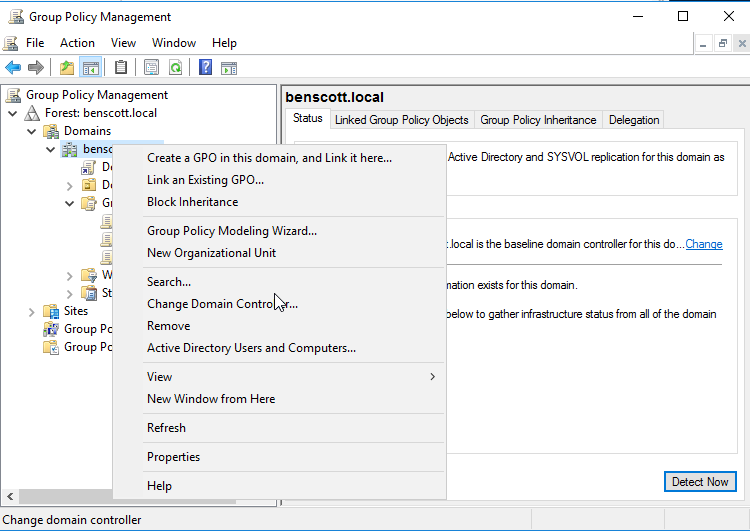
Go back to the group policy management console and right click your domain name - click Link an existing GPO


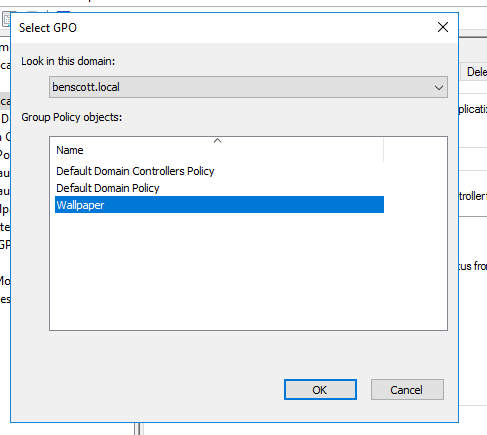
Select wallpaper


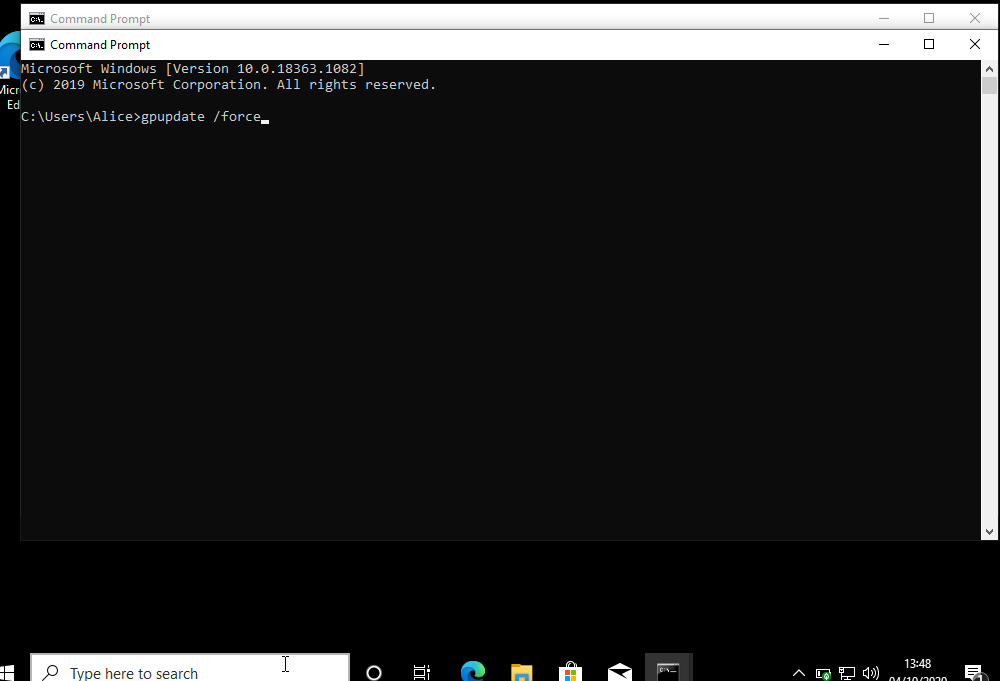
On the Windows 10 machine open cmd prompt 


Type gpupdate /force 


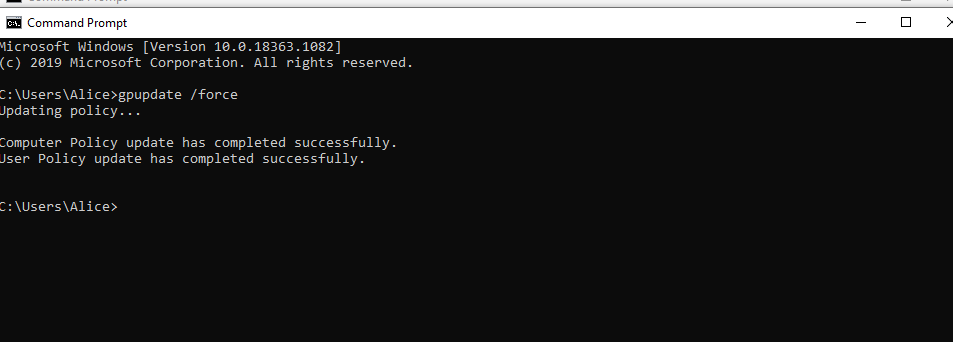
You should see the below message that is has been successfully update. Close the command prompt window and restart the windows 10 machine


Login with a user and you should see your logo if you have been successful :) 


Connect a Windows 10 machine to a domain


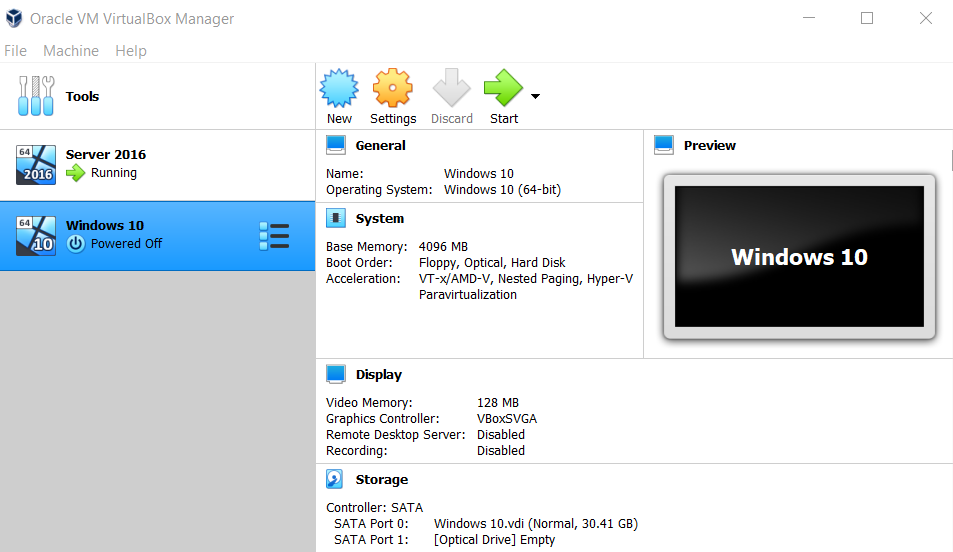
Select the Windows 10 machine and click start


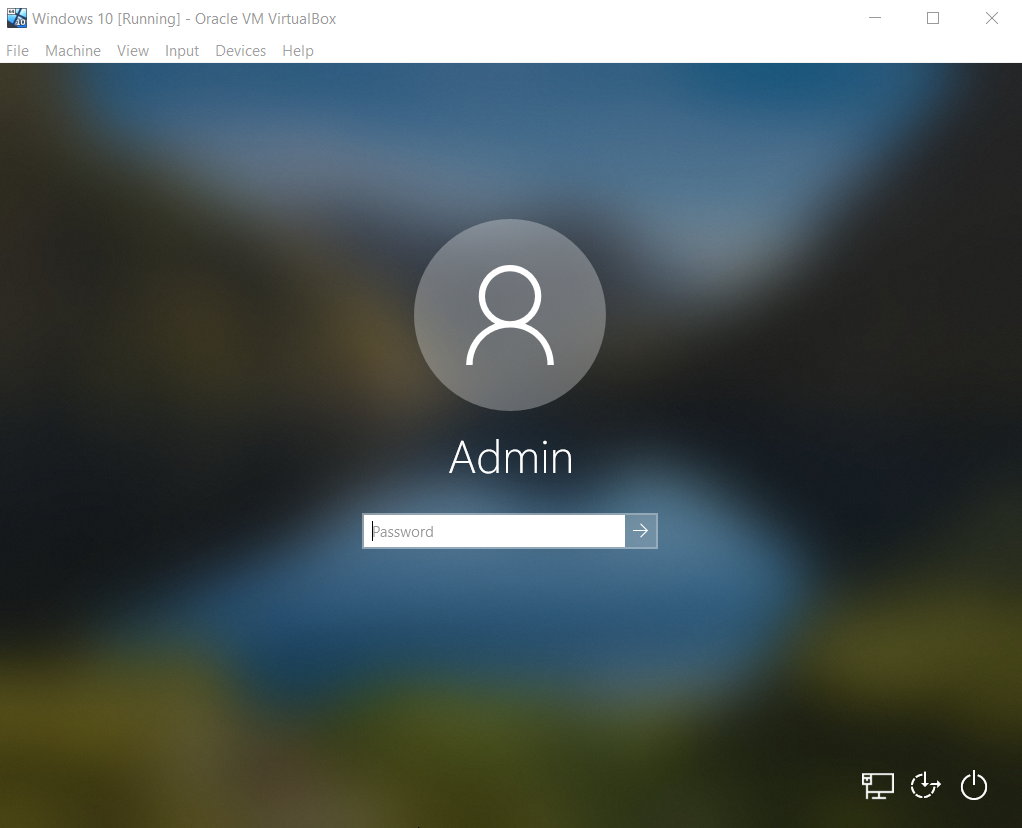
Enter your password at the login screen


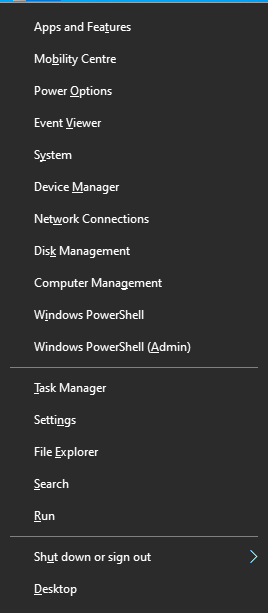
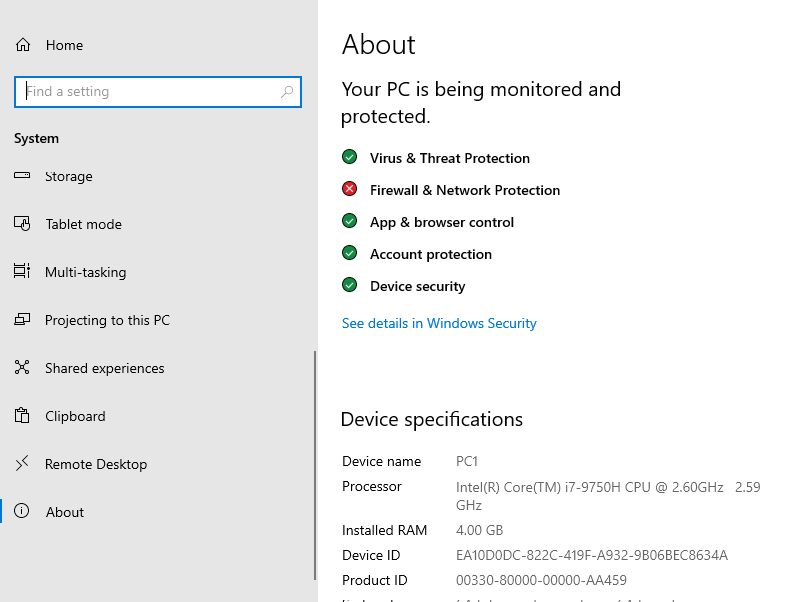
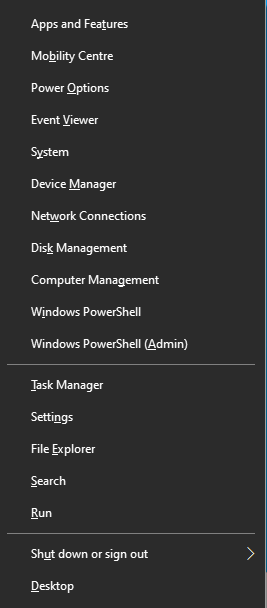
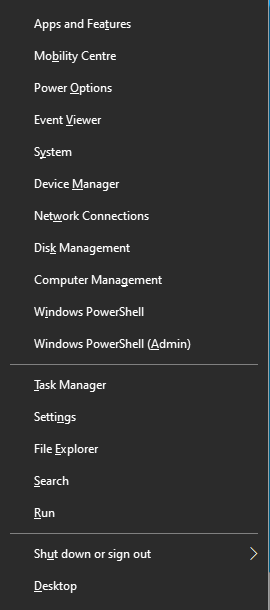
Press the Windows + X key and select system


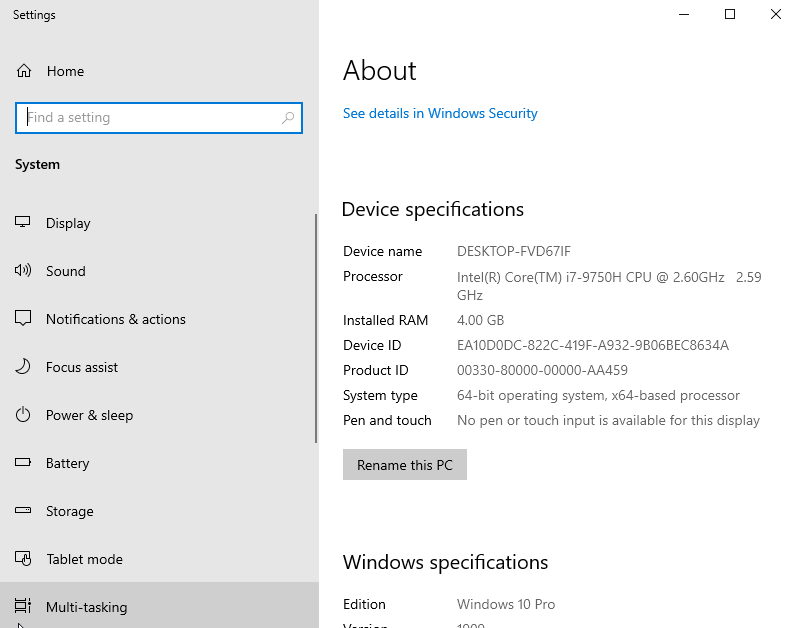
Select rename this PC


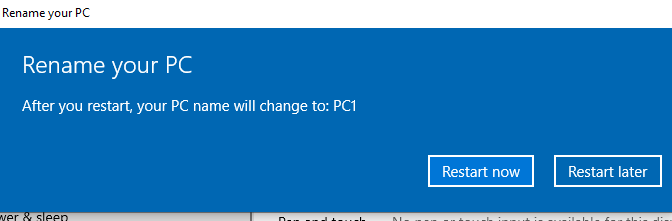
Change the name to PC1


Click restart now


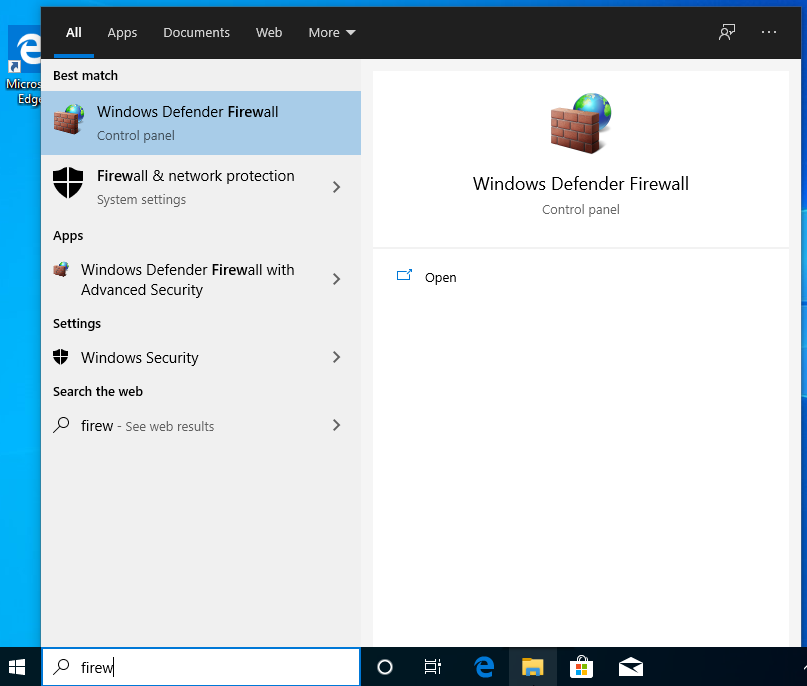
Press the windows + s key and type firewall and select the Windows defender firewall


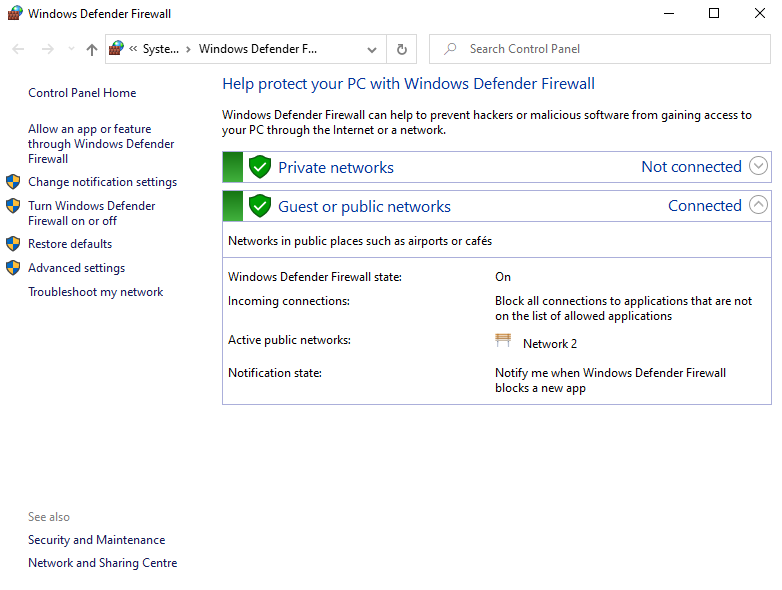
Select turn windows defender on or off


Turn off both private and public settings


Press the Windows + X key and select system


Select Remote Desktop


Turn Remote Desktop On 


Click confirm


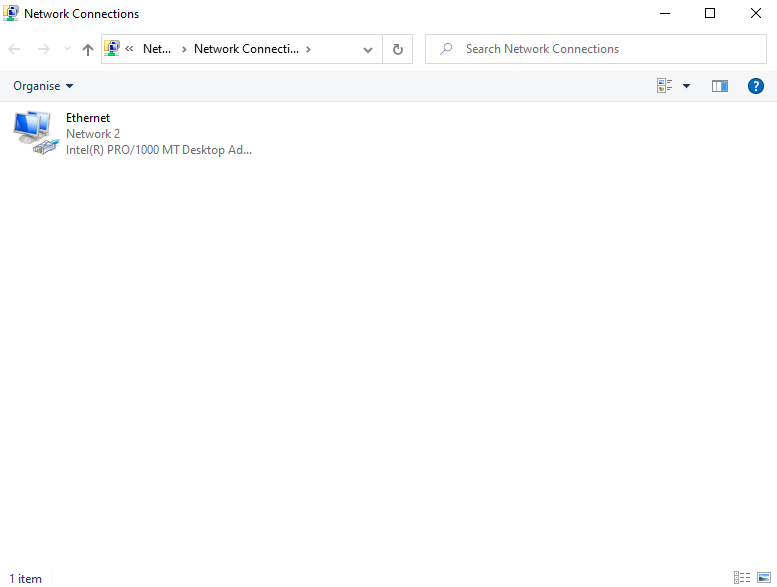
Press the Windows + X key and select network connections 


Click Change adapter options


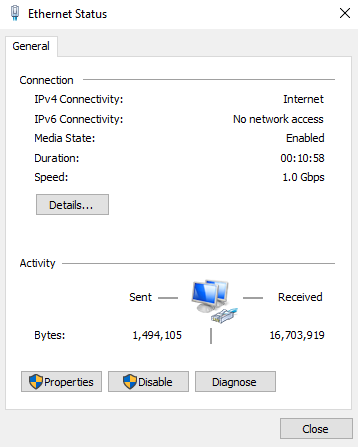
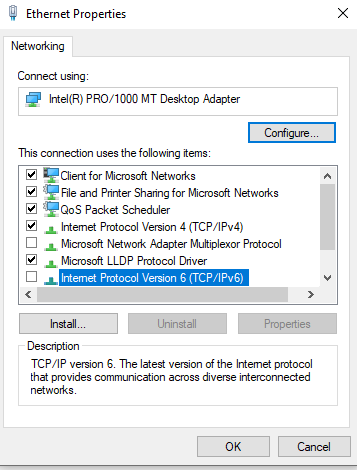
Double click on the ethernet icon


Click properties


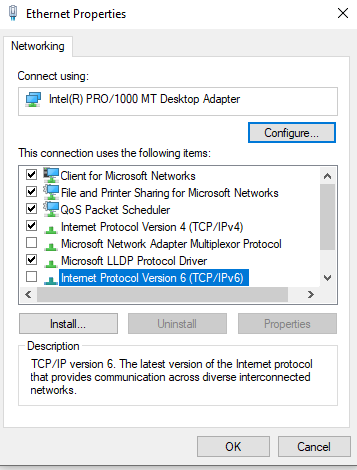
Uncheck IPv6 


Double click on Ipv4


Enter the IP address of your server from previous instructions below is my server's address . click ok 


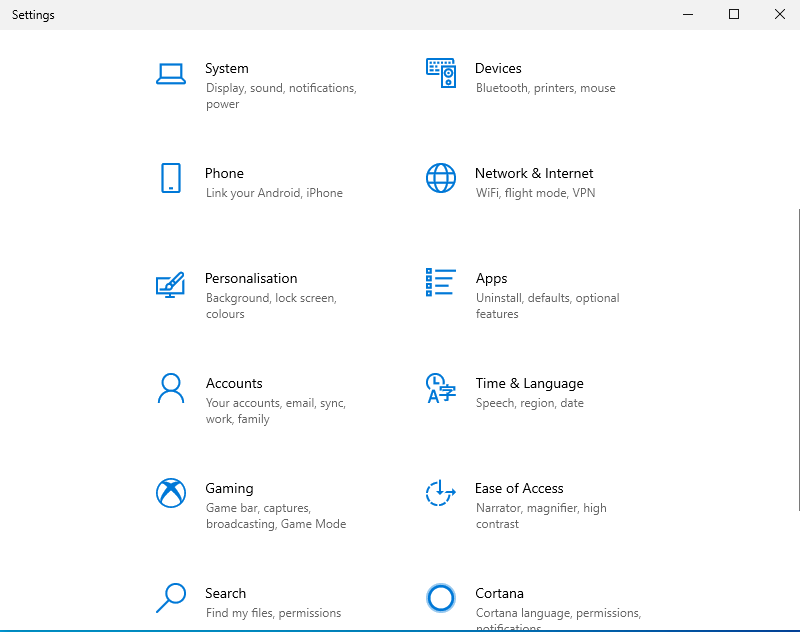
Press the Windows + X key and select settings 


Select accounts


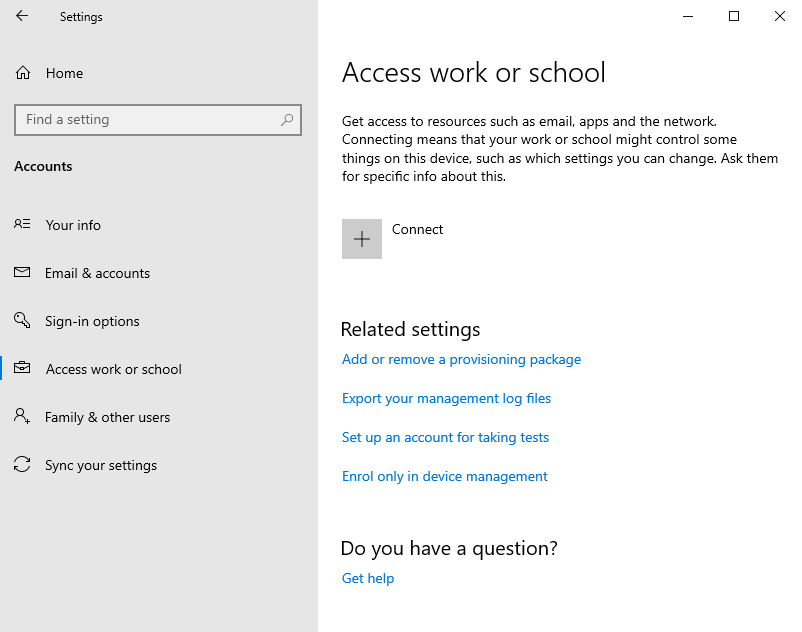
Select access work or school 


Select connect 


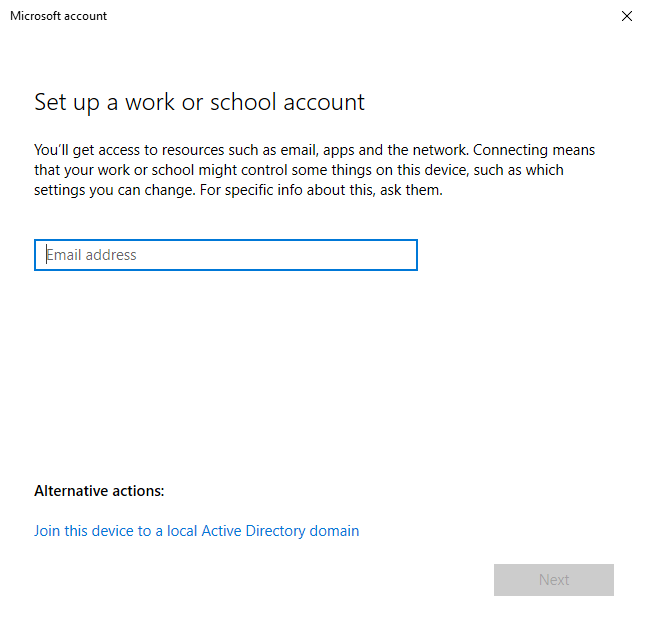
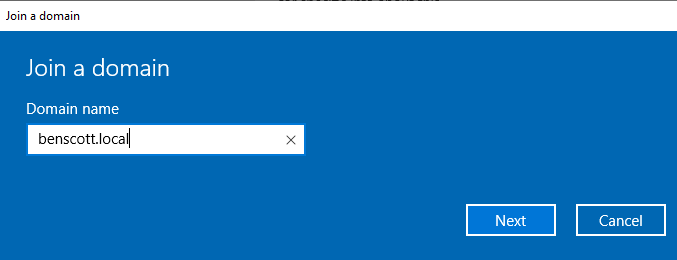
Select join this device to a local Active Directory domain 


Type your domain name


Type .\ ( then the username for which you made an administrator and the password )


Skip the below step and restart the PC


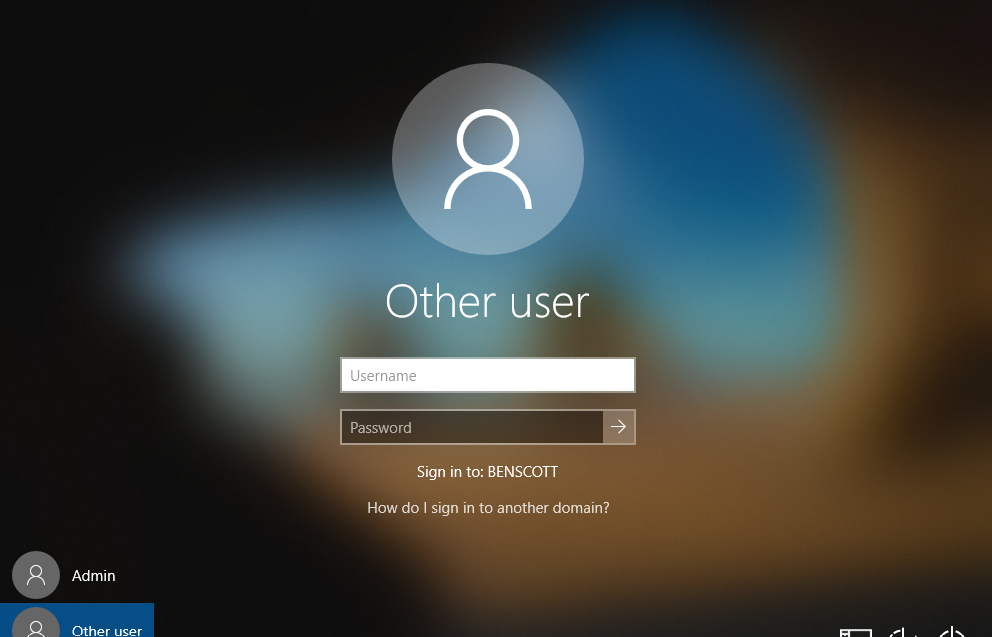
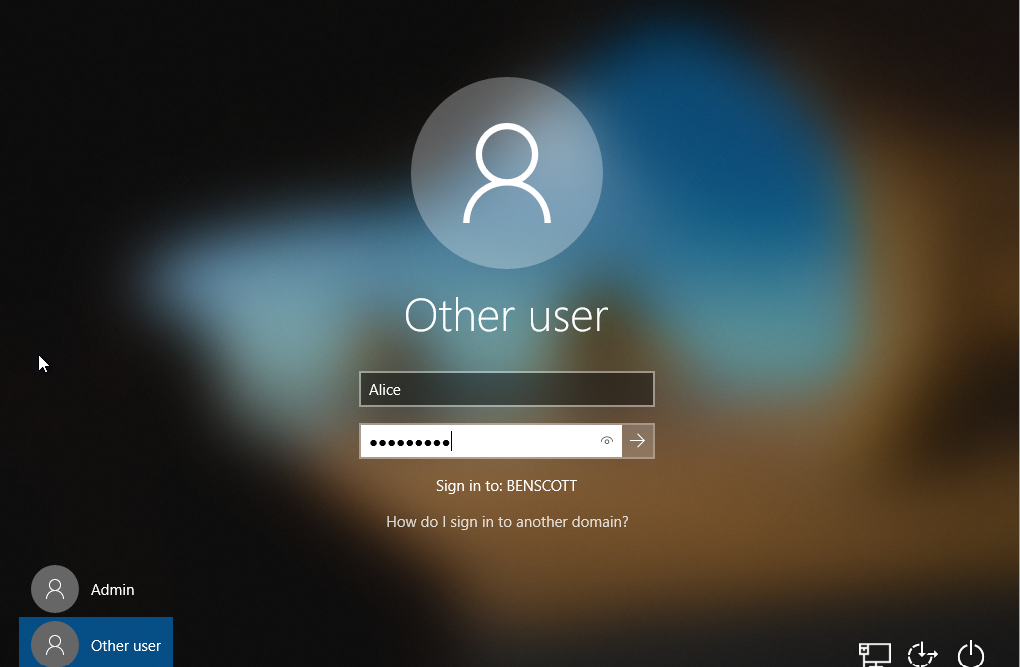
When the computer restarts you should see your domain name at the Sign in 


Type the user logins and press enter


New user has joined 👏


Close tabs down and shutdown the Windows 10 machine.

Fast switching vs Process switching

Process Switching: Process switching is the traditional method of packet forwarding used in early routers. When a packet arrives at a router...