Showing posts with label IT support. Show all posts

Thursday, 16 February 2023

Using Group Policy to deploy wallpaper to domain machines

On the server open up internet explorer, go to the website bing.com ( google may run slow ) . Search for an image of your choice


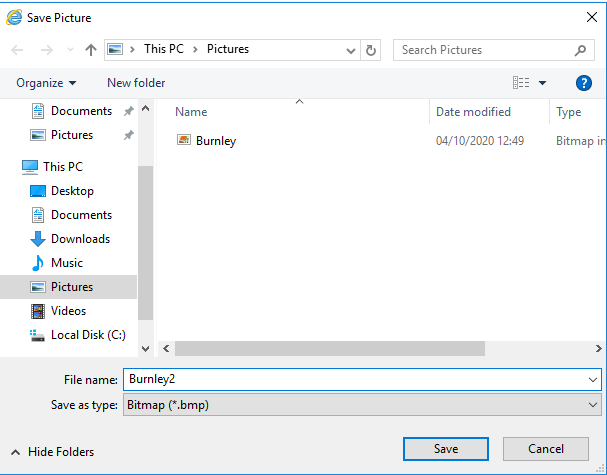
Right click on the image - and save it to the Pictures folder on the server as a bmp file 


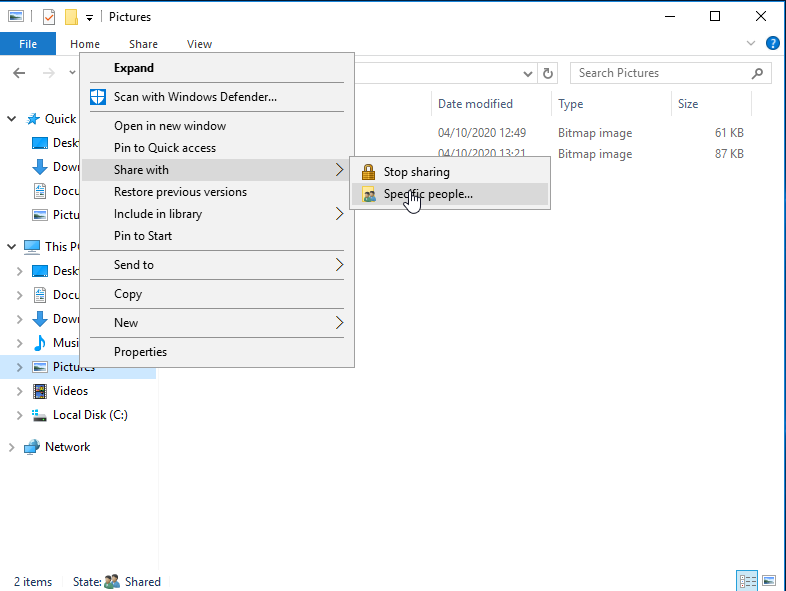
Right click on the pictures folder and click share with specific people


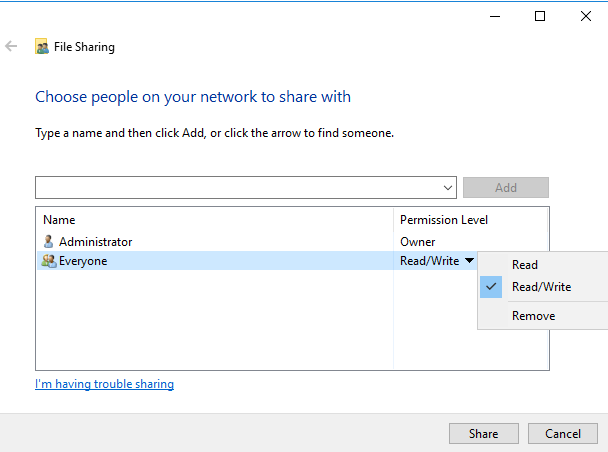
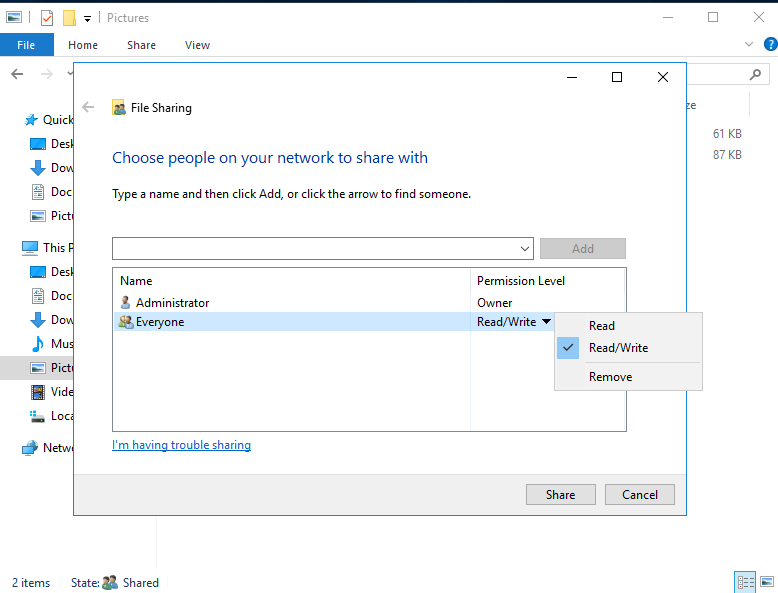
Ensure everyone is added if not click the drop down box and add tick read/write and click share


Do the same for the file you want to use for example here I have right clicked on burnley2 and clicked share with specific people


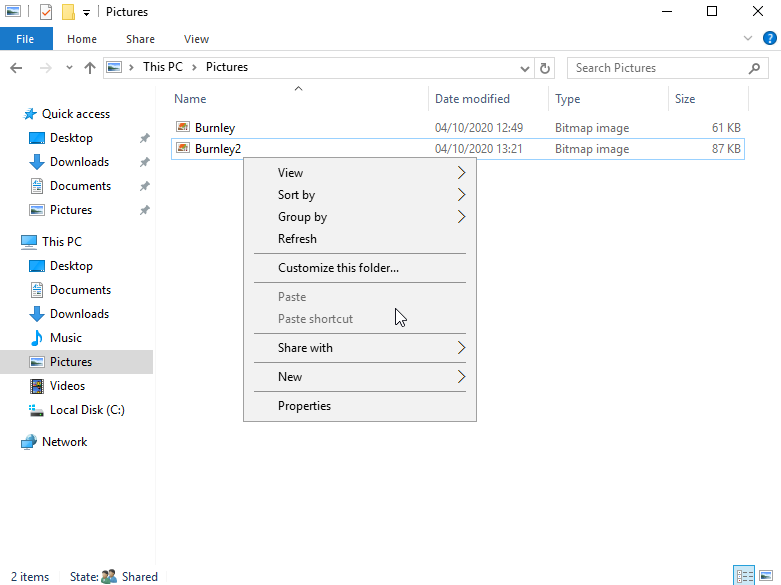
Ensure Everyone + Read/write is selected and click share


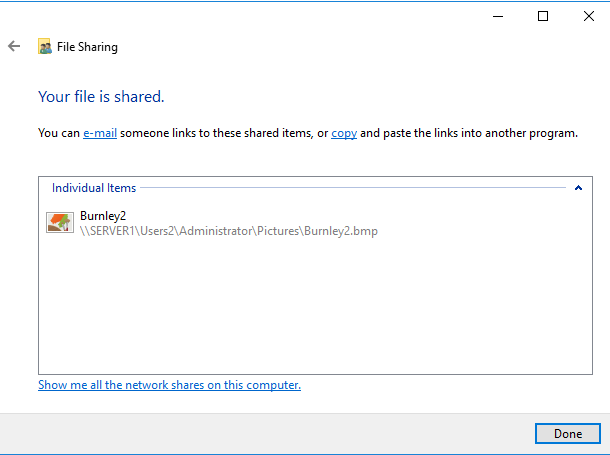
You should see the below screen with the file name location listed. Mine is 


\\SERVER1\Users2\Administrator\Pictures\Burnley2.bmp


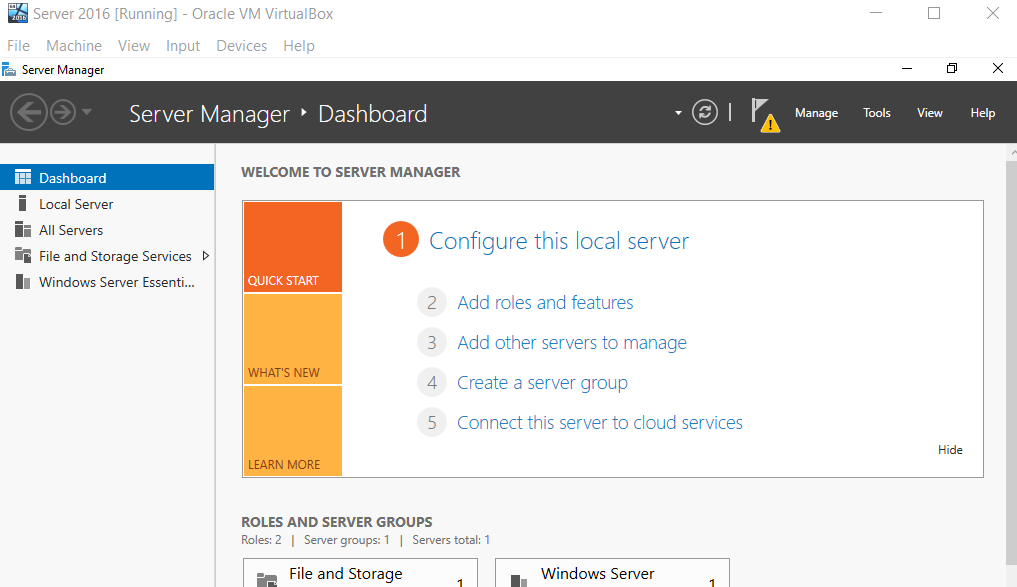
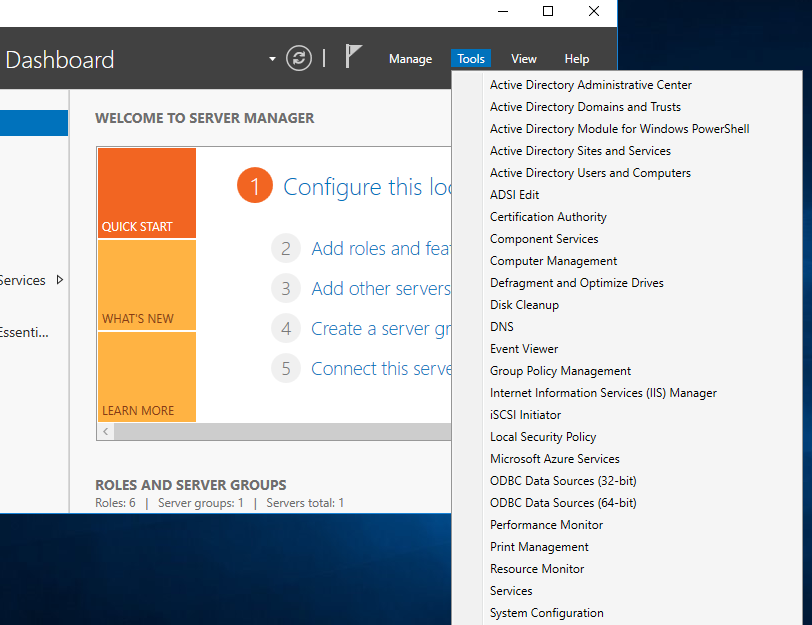
On server manager, click tools then Group policy management 


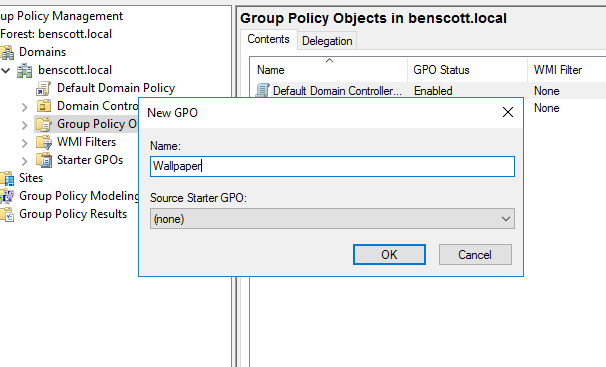
Right click Group Policy Objects - Click New 


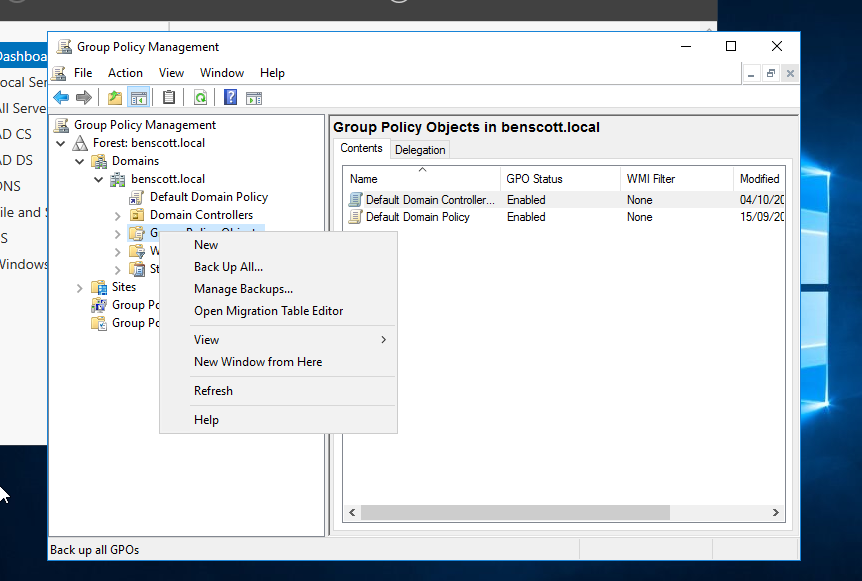
Type Wallpaper then click ok


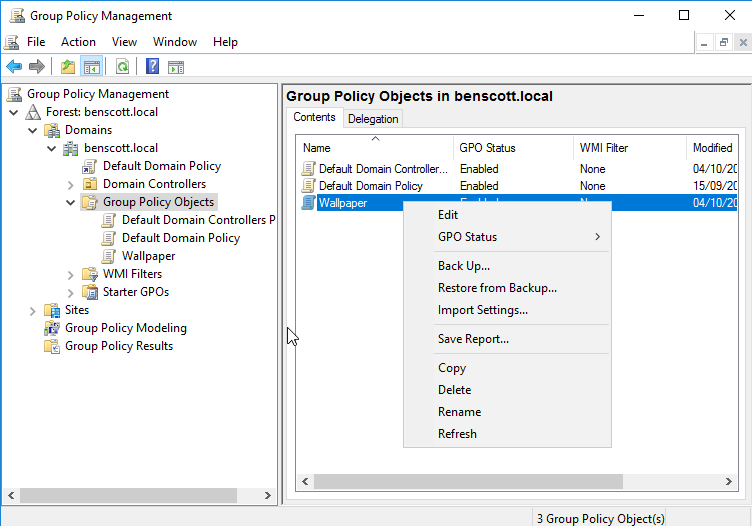
Now right click Wallpaper in the Group Policy Objects folder and click edit


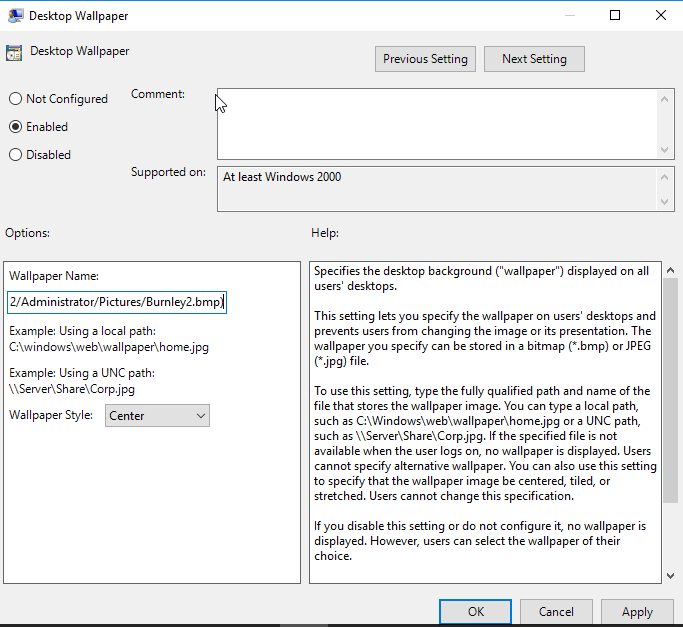
Expand user configuration -> policies -> administrative templates then click desktop and on the right hand side click desktop wallpaper


Click enabled - type the full file path into the Wallpaper name , and select style as center or fill ( however you want the logo to appear. Click apply 


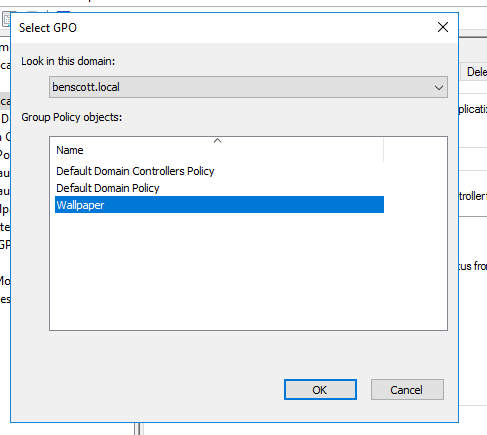
Go back to the group policy management console and right click your domain name - click Link an existing GPO


Select wallpaper


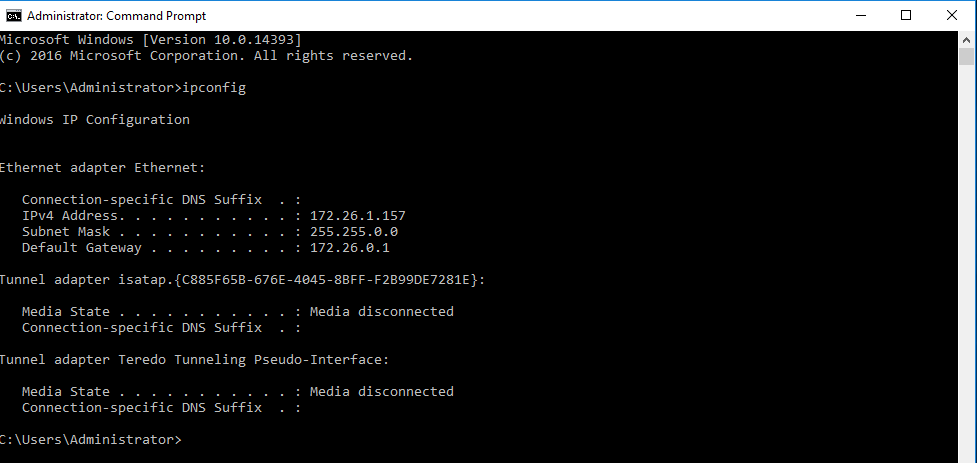
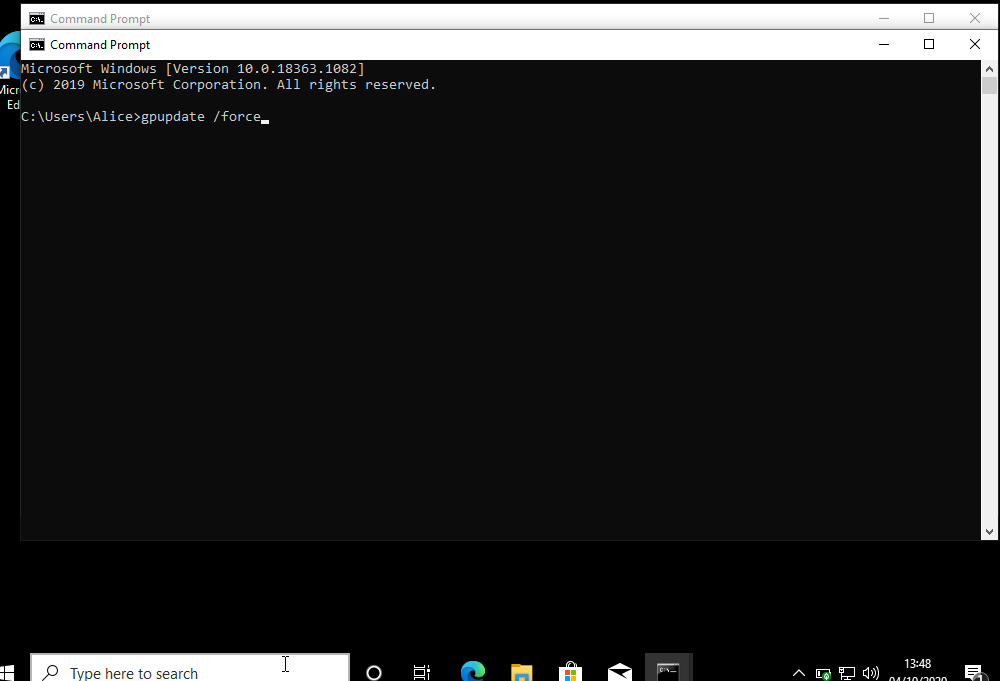
On the Windows 10 machine open cmd prompt 


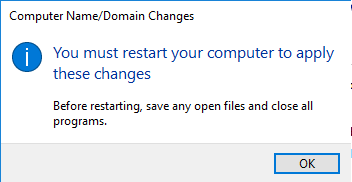
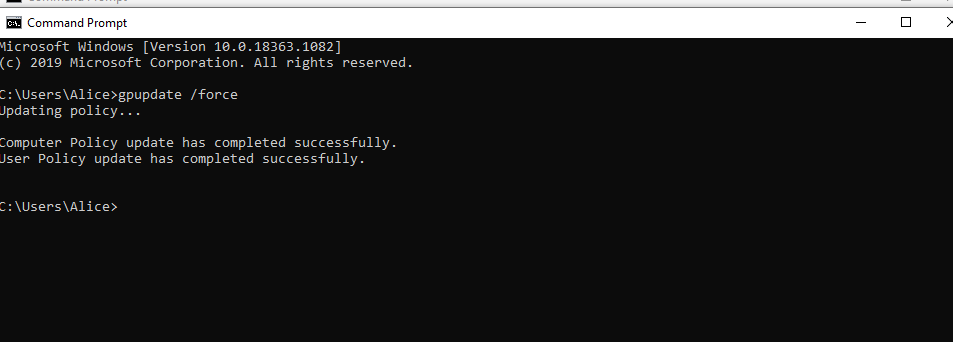
Type gpupdate /force 


You should see the below message that is has been successfully update. Close the command prompt window and restart the windows 10 machine


Login with a user and you should see your logo if you have been successful :) 


Install Active Directory


Open Oracle Virtual box


Select the server - right click on SATA Port 1 and remove disk from virtual drive


Select the Windows 10 machine - right click on SATA port 1 and remove disk from virtual drive 


Click the yellow cog , select network and change the attached to to Bridged adapter. Your name will differ from the example below. Repeat this for the server virtual machine


Select server and click the green start arrow


Enter the server Password


Click cancel on the below pop up


Press the Windows + X key select system


Click change settings


Change computer description to DC


Click change computer name to Server1


Click ok to apply the settings


Click restart now


Log in to the server


Click cancel on pop up


Press the Windows + X key click network connections


Right click on the ethernet connection


Click properties


Make sure IPv6 is unchecked and click ok 


Type firewall into the search bar and select Windows firewall 


Select Windows Firewall properties


Turn the firewall state off for domain profile , private profile and public profile  


Press the windows + x key and select system


Select remote settings


Select allow remote connections to this computer


Press the Windows + X key and select command prompt


Type ipconfig


You should be presented with similarities to the below my server IP address is 172.26.1.157 ( yours will be different - make a note of your number its important!) 


Press the windows + S key and typer server manager into the search bar


Click Add roles and features


Click Next 


Ensure role-based or feature based installation is checked


Ensure your server is selected and the IP address matches what was presented in previous steps under IP config 


Select Active Directory Domain Services


Click Add Features and click next


Click next on the features window


Click Next on the Active Directory Domain Services 


Click install confirmation 


Once the installation is complete - click Promote this server to a domain controller


Select Add a new forest and type in your root domain name mine is benscott.local yours could be your name plus .local


Change Forest functional level & Domain functional level to Windows Server 2012 R2 and type a password that you will remember in the password box and click next 


Click next on DNS options


The NetBios domain name should populate to the name you called your domain. Click next


Click next on paths


Click next on review options


Click install on Prerequisites Check ( This installation could take up to 15minutes and the server will restart )


Type your password you should now notice the domain \ admin logged in is displayed

Fast switching vs Process switching

Process Switching: Process switching is the traditional method of packet forwarding used in early routers. When a packet arrives at a router...