Showing posts with label administration. Show all posts

Monday, 17 April 2023

Some basic network troubleshooting commands

Below are some every day, useful commands to use when troubleshooting your own device and network issues

ipconfig /all

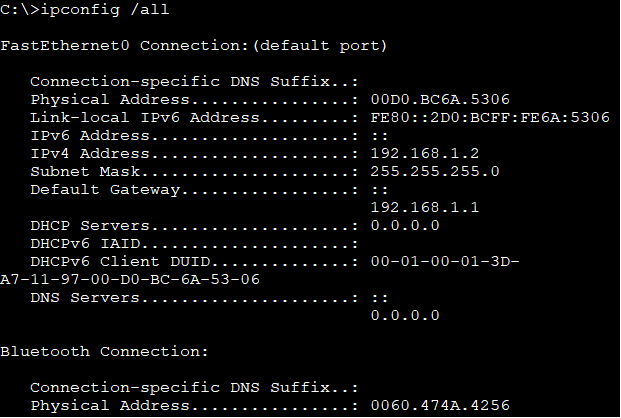
This command shows the current TCP/IP configurations for all adapters. This can be both logical and physical addresses. Below is a simple screenshot with the results. Notice the default gateway is shown, this is the router address on the same network as the device. Without the default gateway being configured we will not be able to communicate remotely or with other networks. 


show ip interface brief

This is a router command it shows all IPv4 interface configurations and their current status


ping

Ping verifies IP connectivity to another networked device by sending Internet Control Message Protocol (ICMP) echo Request messages. When a successful ping happens you get the below pieces of information. In the example 127.0.0.1 is a loopback address to check if the local PC's TCP/IP address is configured correctly. If an IP address is not available you will get a timed out message.


tracert

Trace route will diagnose the path taken to a destination. Again ICMP is used, and echo requests are feedback when a different network is identified. This is used to pinpoint where network failures occur


These are just some small examples of commands that can be used at a fundamental level. Microsoft have published a detailed list of commands here


Tuesday, 21 March 2023

AAA - Authentication, Authorisation, Accounting

802.1X authentication

802.1X authentication involves ensuring something is what its saying it is.

Features

Supplicant - (client-end user) - Devices that are trying to connect to an 802.1X need to have software installed on them and this is known as a supplicant. The supplicant initiates the connection by activating EAP (Extensible Authentication Protocol) between the device and switch

Authenticator - A device on a network that connects a client to a network. It blocks and allows traffic. A switch is an example of an authenticator.

Authentication Server - deals with requests for access to the network. The server tells the authenticator to allow or deny the traffic. Authentication servers usually run on the RADIUS protocol.


AAA

AAA is a requirement of network security. It is a process from start to finish of network access and monitoring

Authentication: uses challenge and response methodology for granting access. This identifies users by username and password

Authorisation: After initial authentication, authorisation uses the RADIUS protocol to allow access to resources based on permission levels

Accounting: After access users can be be monitoring for billing, reporting and auditing. You can observe what users do after they have been authenticated and authorised for example when they log in and when they log out.


The next steps are to look at a practical scenario using the AAA methodology.

Topology addressing:

Server: 192.168.2.2

G/0/0/1: 192.168.2.1

G/0/0/0: 192.168.1.1

PC0: 192.168.1.2 (Default Gateway 192.168.1.1)


Configure IP addressing on the router:


Assign a valid IP address to your Radius Server:


Turn on AAA on the services tab, add the the router details for the network the server is on ands specify a passkey - here I have used "hello"


Configuring AAA on the router, specify the server address and the passkey you used. (note the passkey I used is not very secure so something with multiple characters, number etc may be better)


Enable remote login:


Assign an IP address for your PC:


Test the telnet connection:


Note here: To use the more secure SSH connection you would need to add the ssh configurations into the router and it is also good practice to enable passwords on your router which was discussed in previous posts. 


Thursday, 16 February 2023

Using Group Policy to deploy wallpaper to domain machines

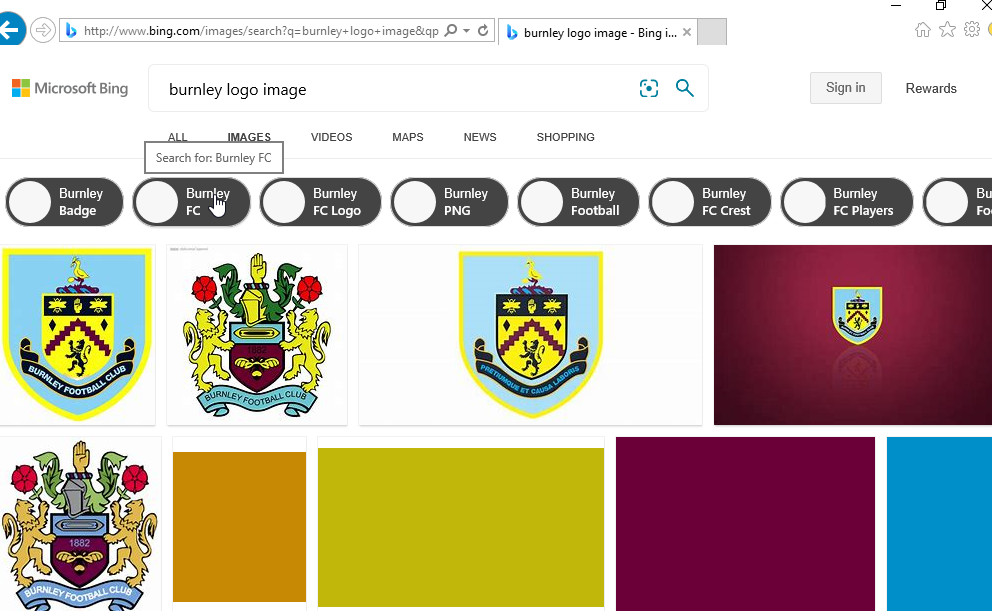
On the server open up internet explorer, go to the website bing.com ( google may run slow ) . Search for an image of your choice


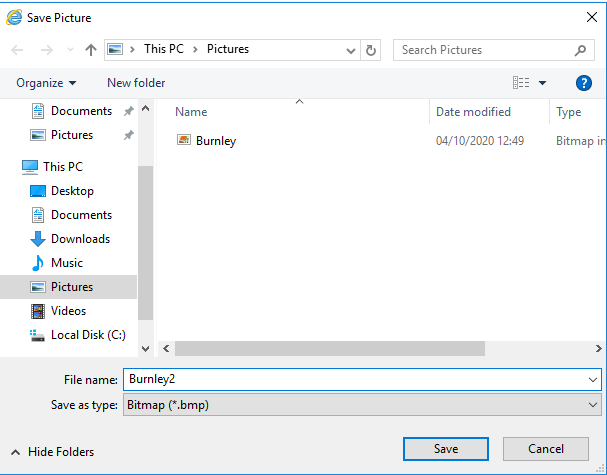
Right click on the image - and save it to the Pictures folder on the server as a bmp file 


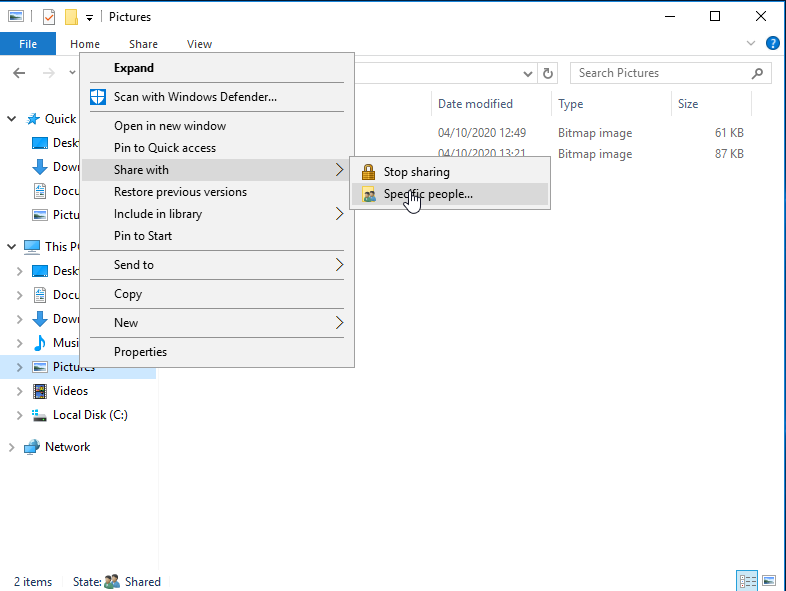
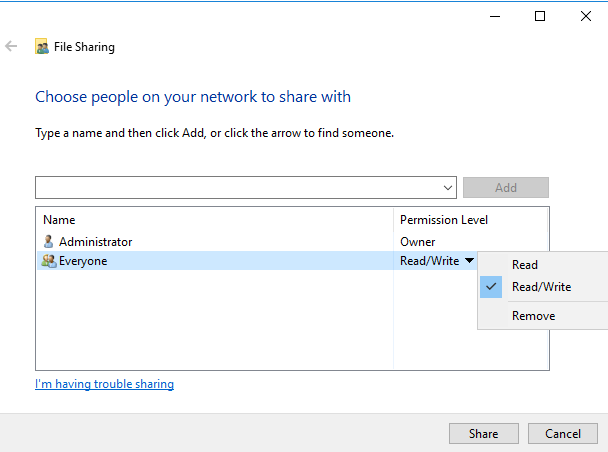
Right click on the pictures folder and click share with specific people


Ensure everyone is added if not click the drop down box and add tick read/write and click share


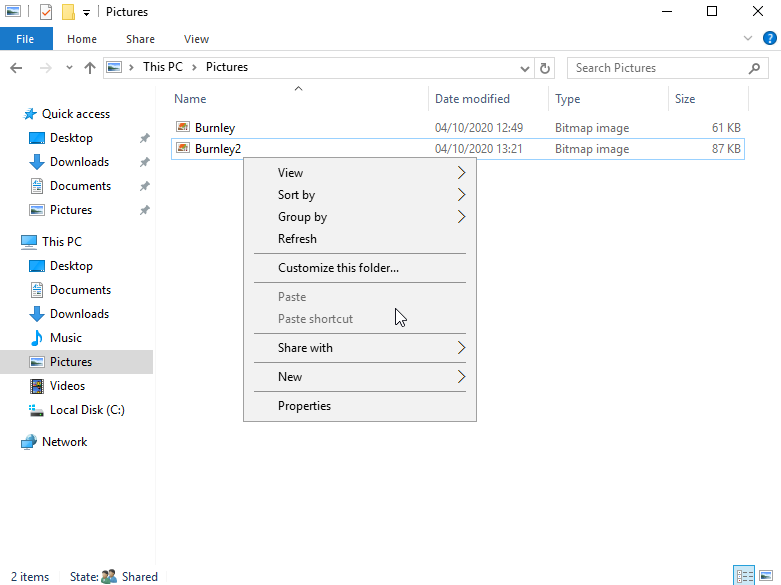
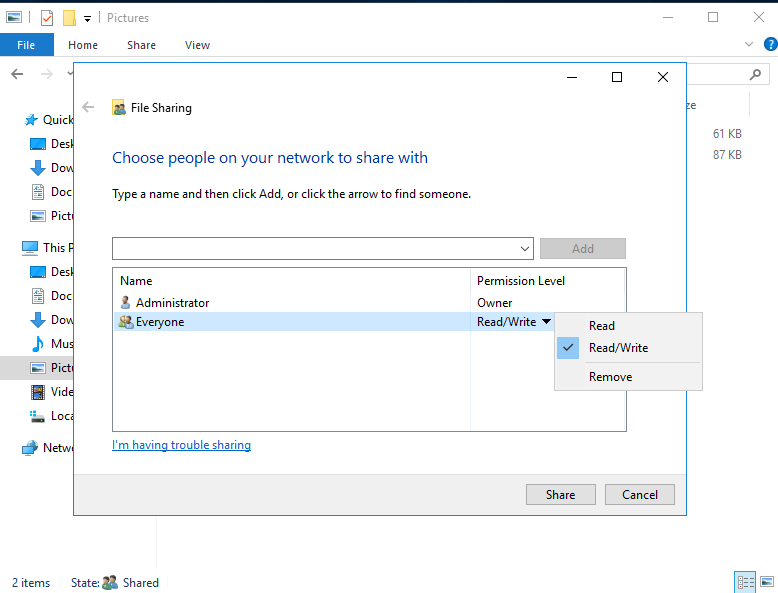
Do the same for the file you want to use for example here I have right clicked on burnley2 and clicked share with specific people


Ensure Everyone + Read/write is selected and click share


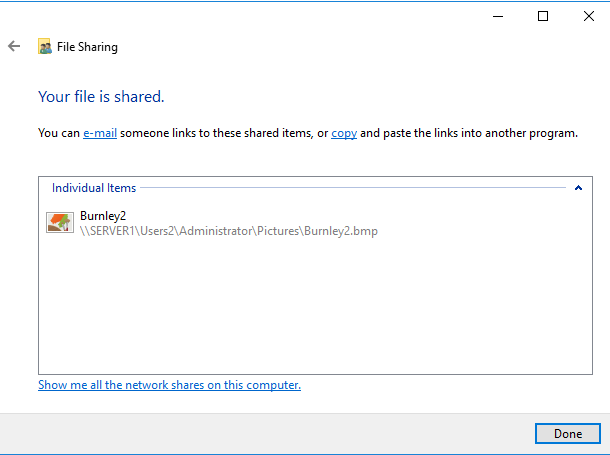
You should see the below screen with the file name location listed. Mine is 


\\SERVER1\Users2\Administrator\Pictures\Burnley2.bmp


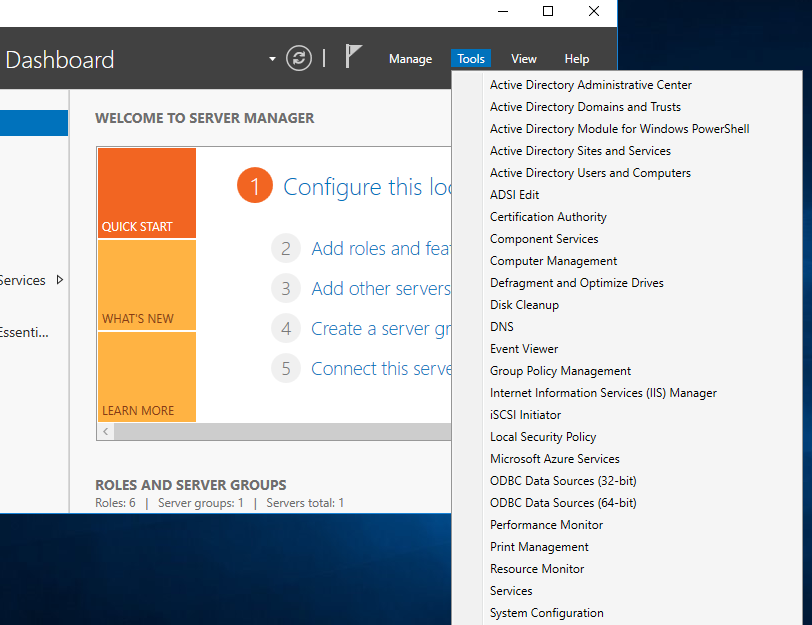
On server manager, click tools then Group policy management 


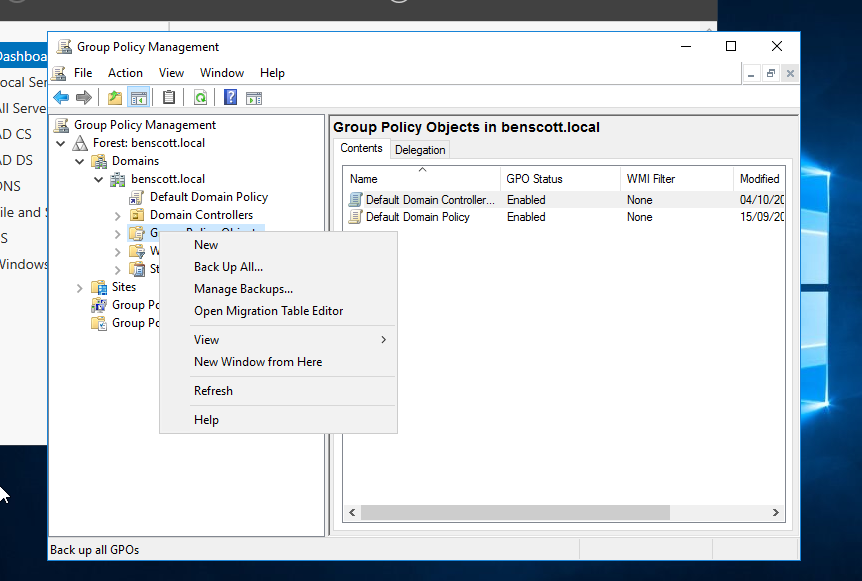
Right click Group Policy Objects - Click New 


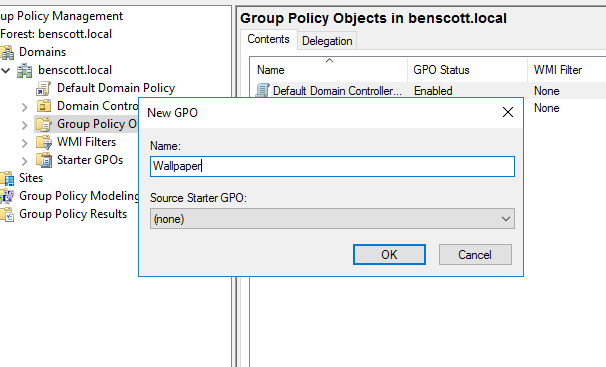
Type Wallpaper then click ok


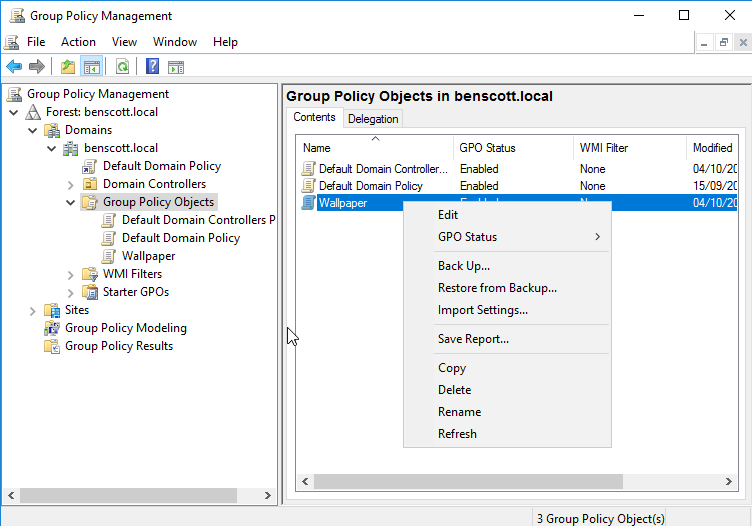
Now right click Wallpaper in the Group Policy Objects folder and click edit


Expand user configuration -> policies -> administrative templates then click desktop and on the right hand side click desktop wallpaper


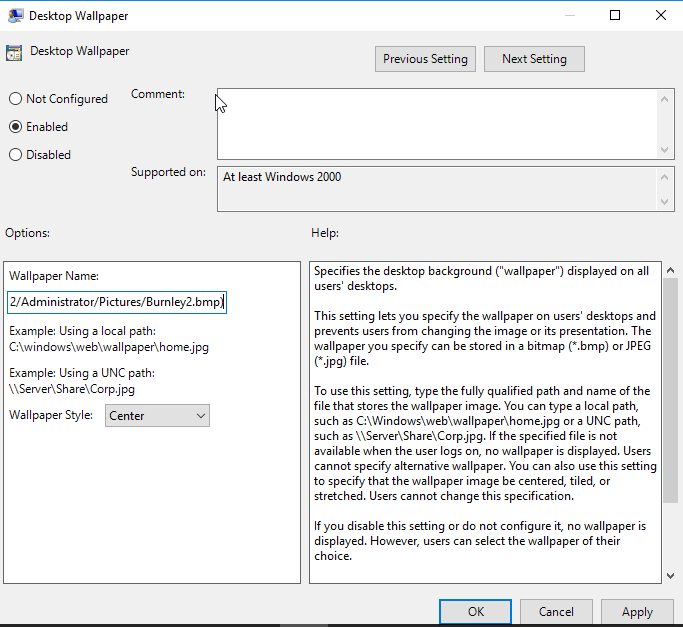
Click enabled - type the full file path into the Wallpaper name , and select style as center or fill ( however you want the logo to appear. Click apply 


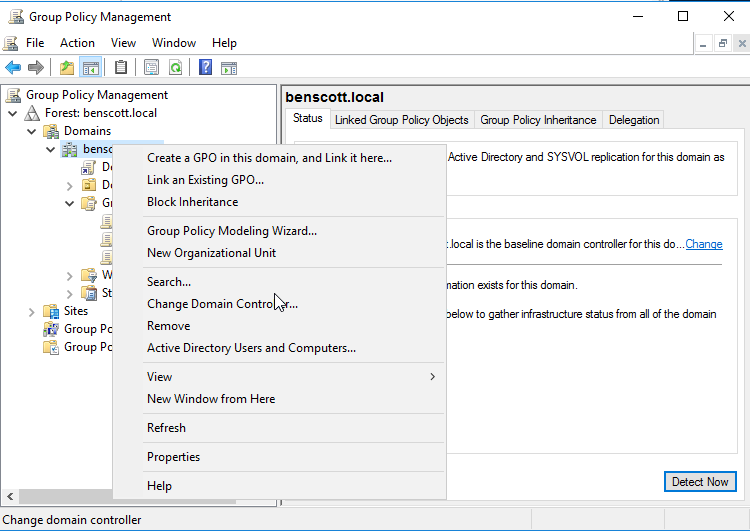
Go back to the group policy management console and right click your domain name - click Link an existing GPO


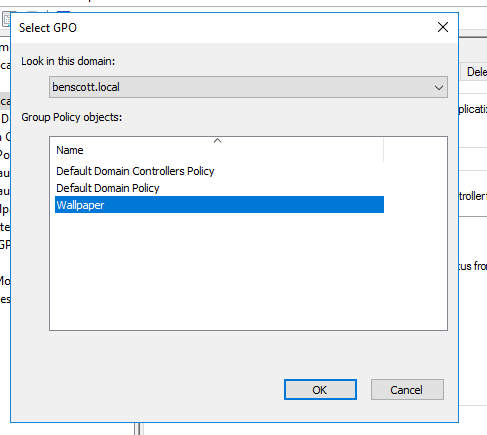
Select wallpaper


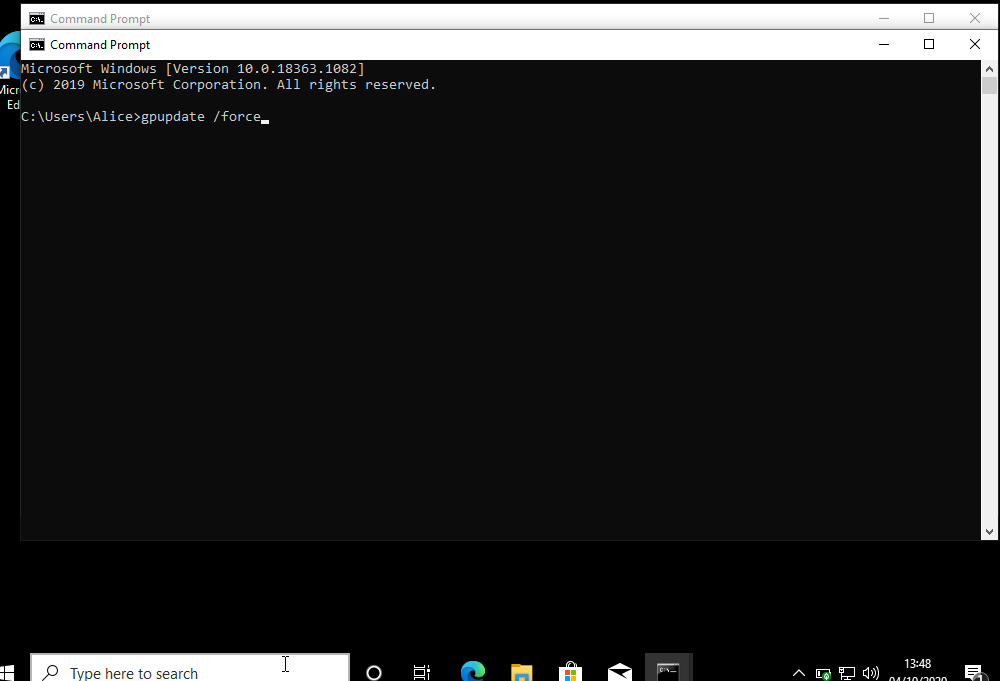
On the Windows 10 machine open cmd prompt 


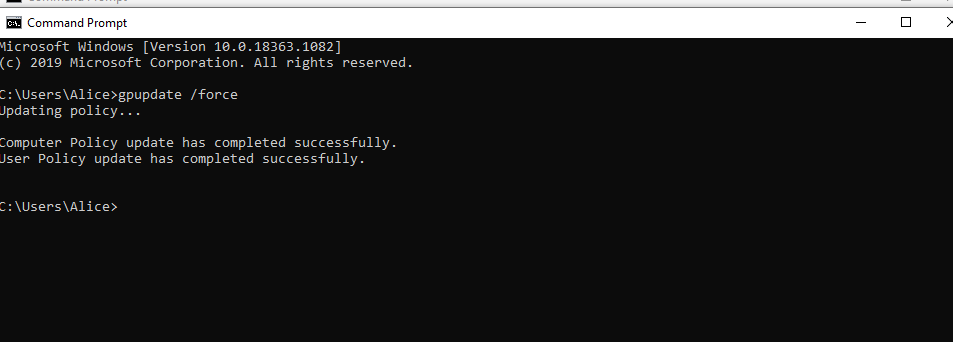
Type gpupdate /force 


You should see the below message that is has been successfully update. Close the command prompt window and restart the windows 10 machine


Login with a user and you should see your logo if you have been successful :) 


Connect a Windows 10 machine to a domain


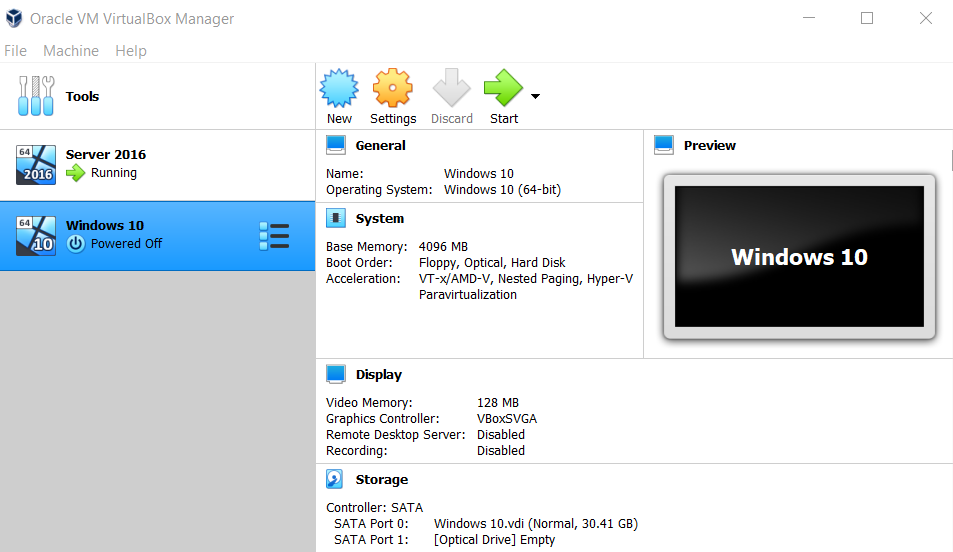
Select the Windows 10 machine and click start


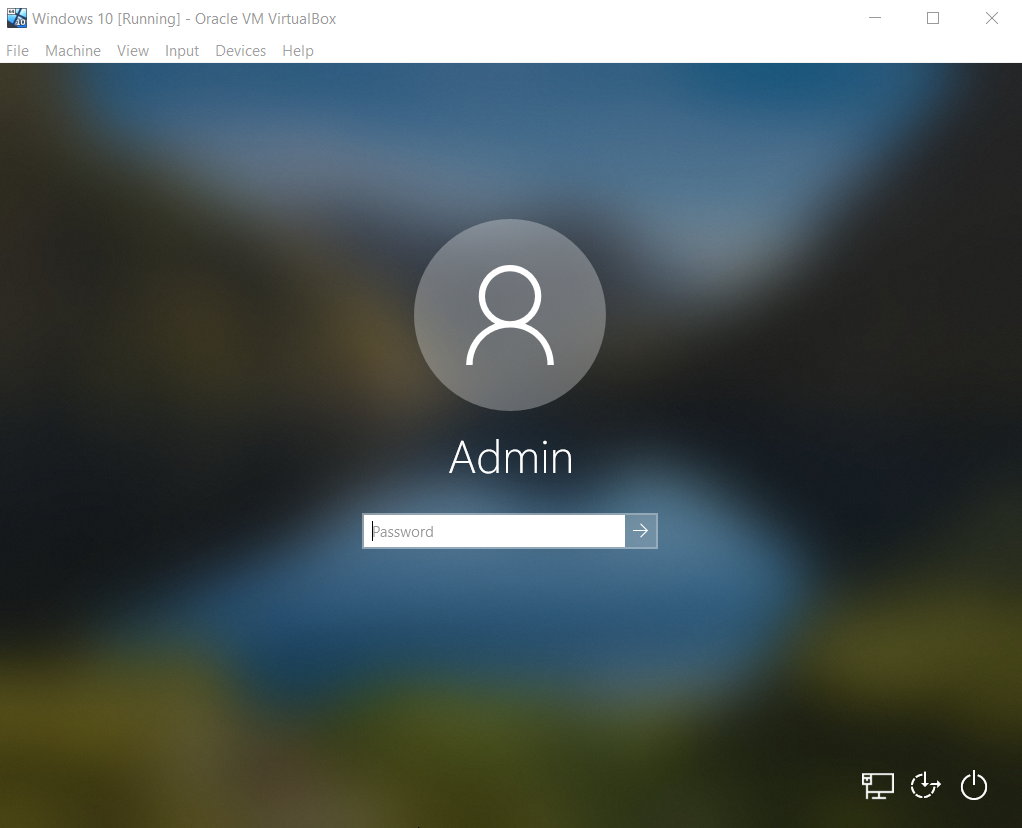
Enter your password at the login screen


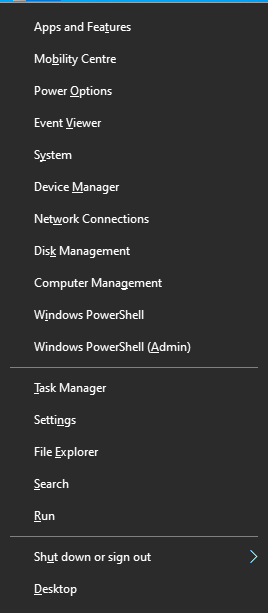
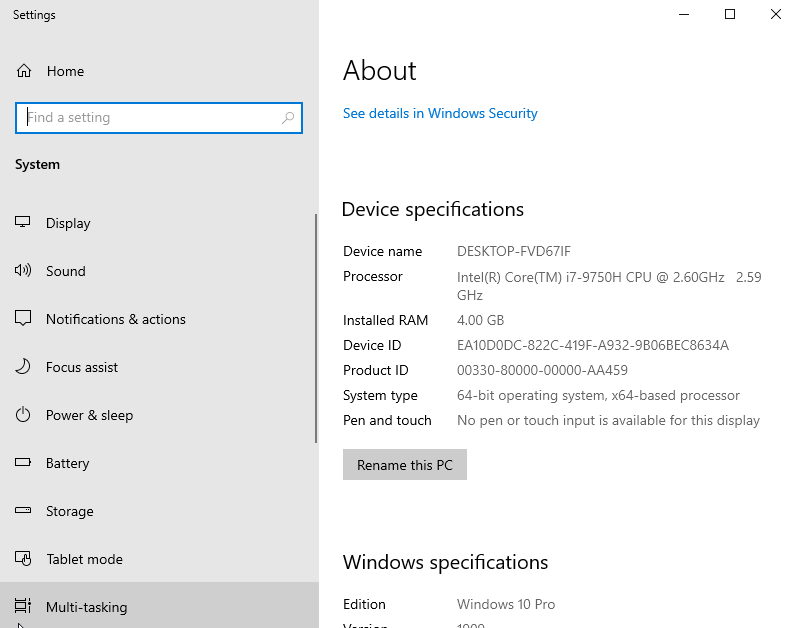
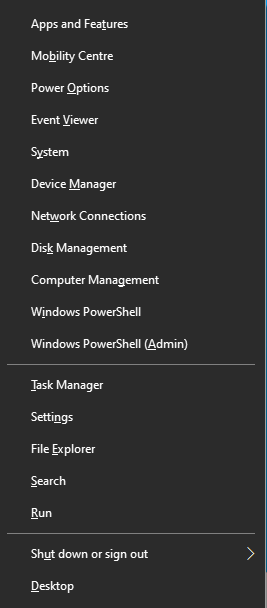
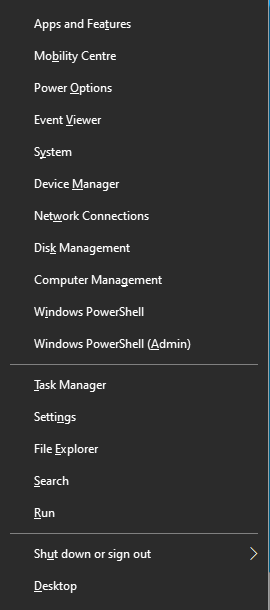
Press the Windows + X key and select system


Select rename this PC


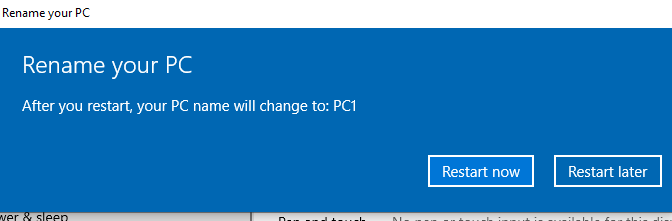
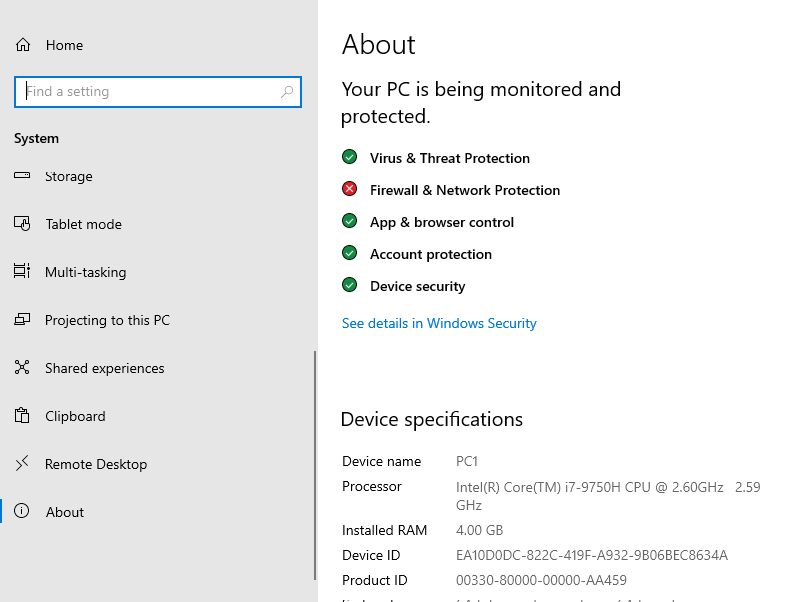
Change the name to PC1


Click restart now


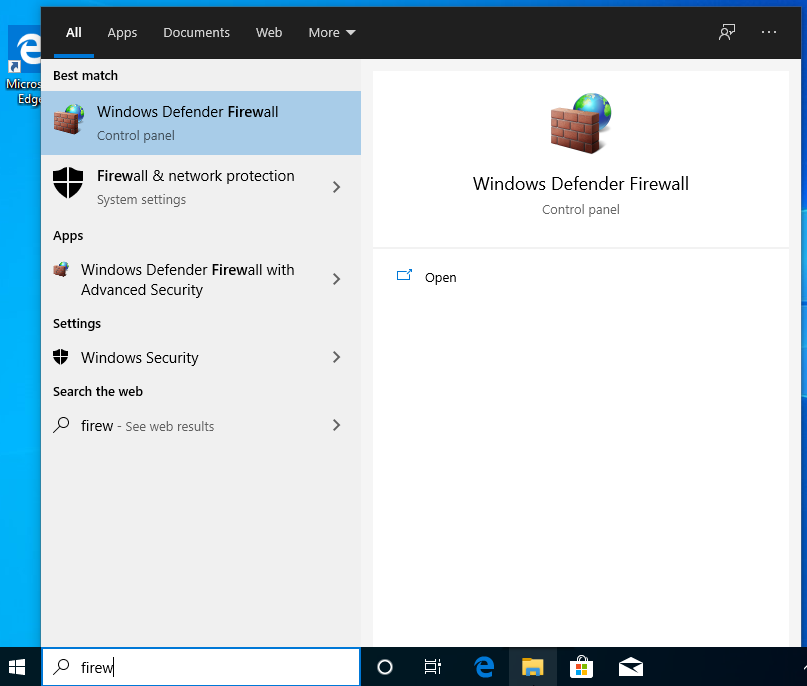
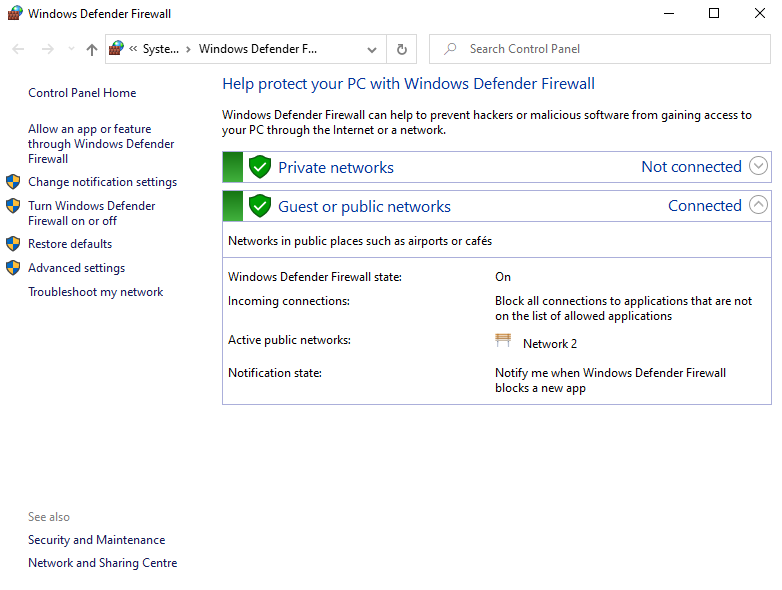
Press the windows + s key and type firewall and select the Windows defender firewall


Select turn windows defender on or off


Turn off both private and public settings


Press the Windows + X key and select system


Select Remote Desktop


Turn Remote Desktop On 


Click confirm


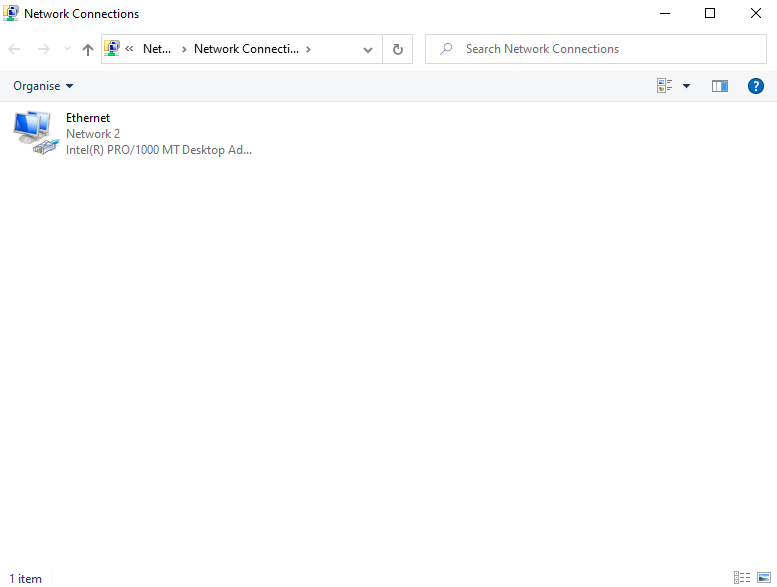
Press the Windows + X key and select network connections 


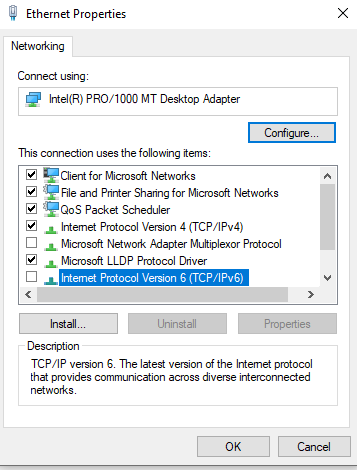
Click Change adapter options


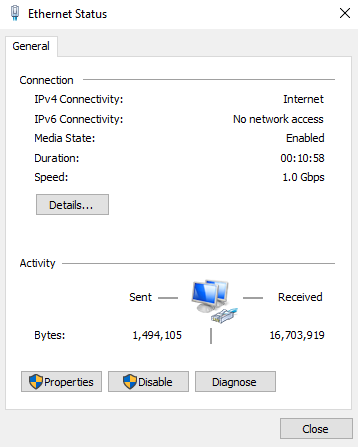
Double click on the ethernet icon


Click properties


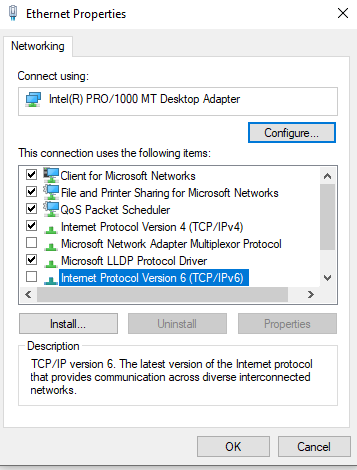
Uncheck IPv6 


Double click on Ipv4


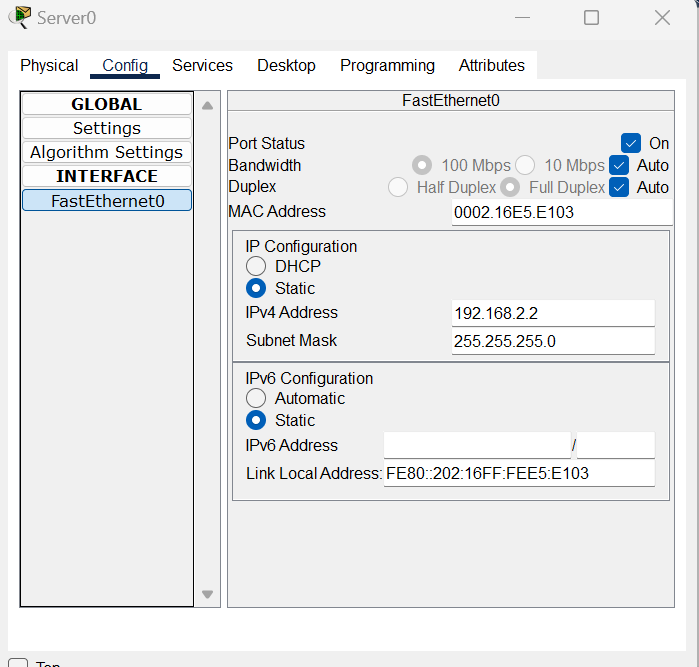
Enter the IP address of your server from previous instructions below is my server's address . click ok 


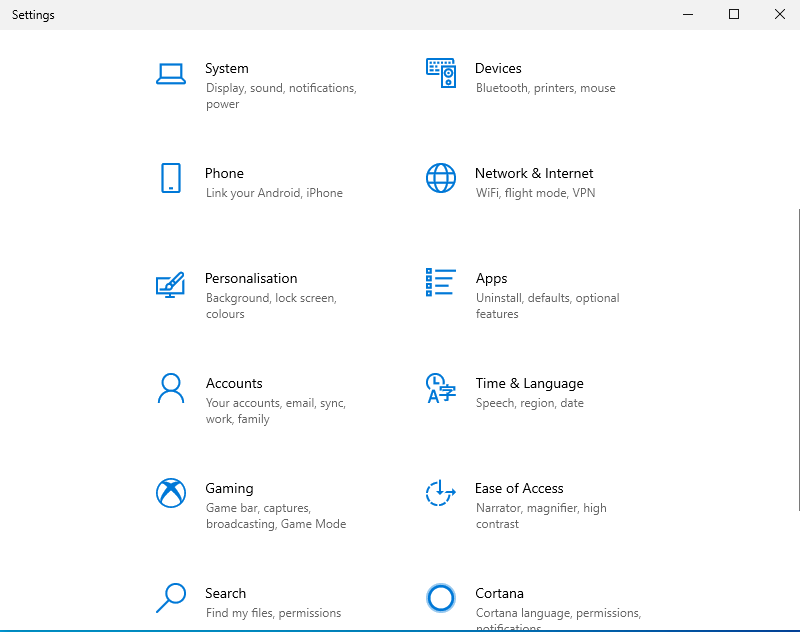
Press the Windows + X key and select settings 


Select accounts


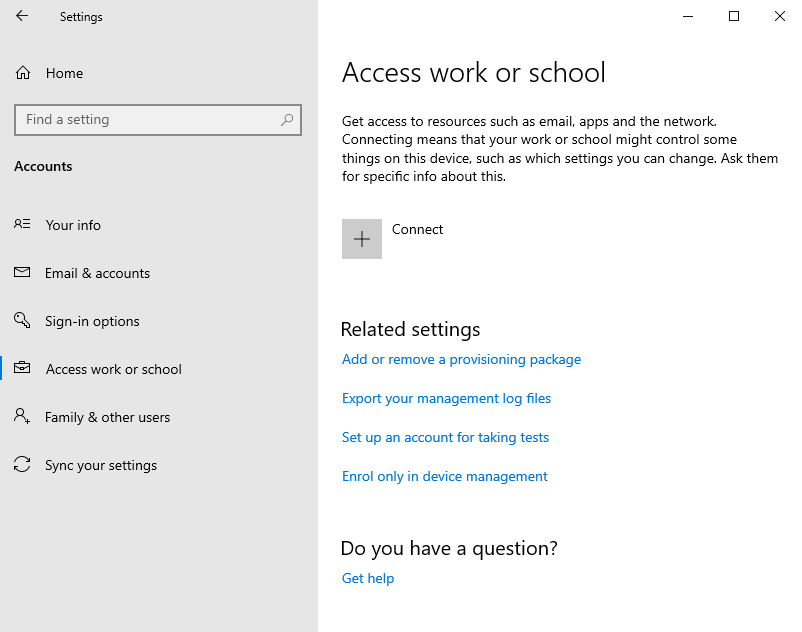
Select access work or school 


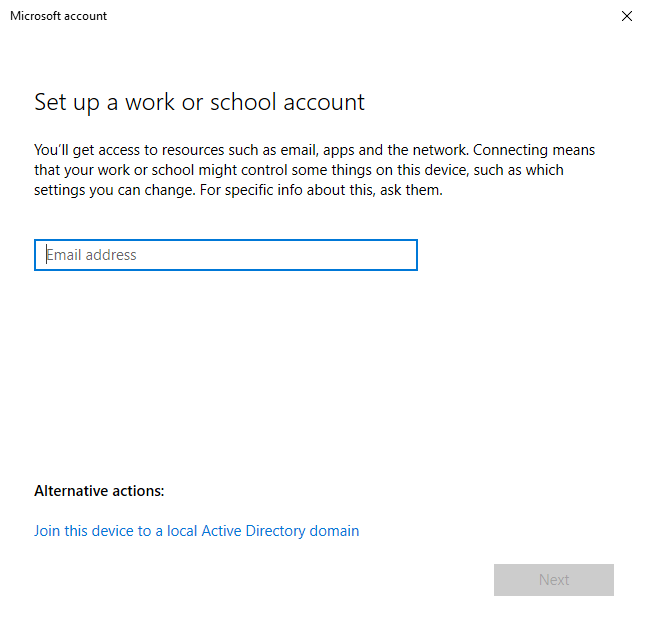
Select connect 


Select join this device to a local Active Directory domain 


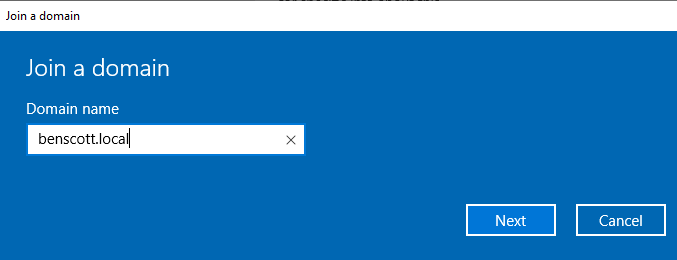
Type your domain name


Type .\ ( then the username for which you made an administrator and the password )


Skip the below step and restart the PC


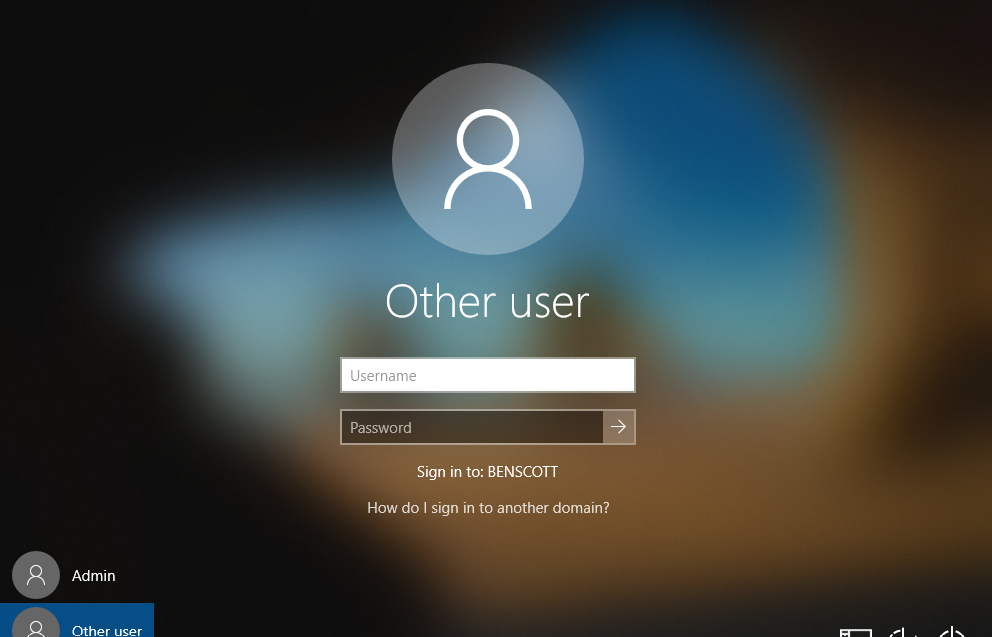
When the computer restarts you should see your domain name at the Sign in 


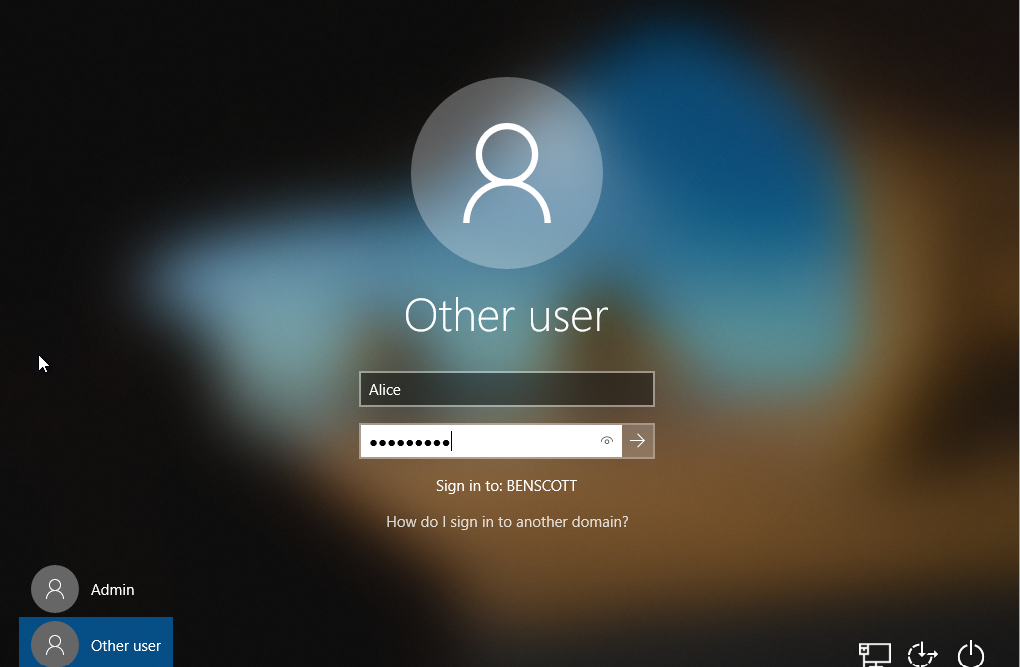
Type the user logins and press enter


New user has joined 👏


Close tabs down and shutdown the Windows 10 machine.

Fast switching vs Process switching

Process Switching: Process switching is the traditional method of packet forwarding used in early routers. When a packet arrives at a router...